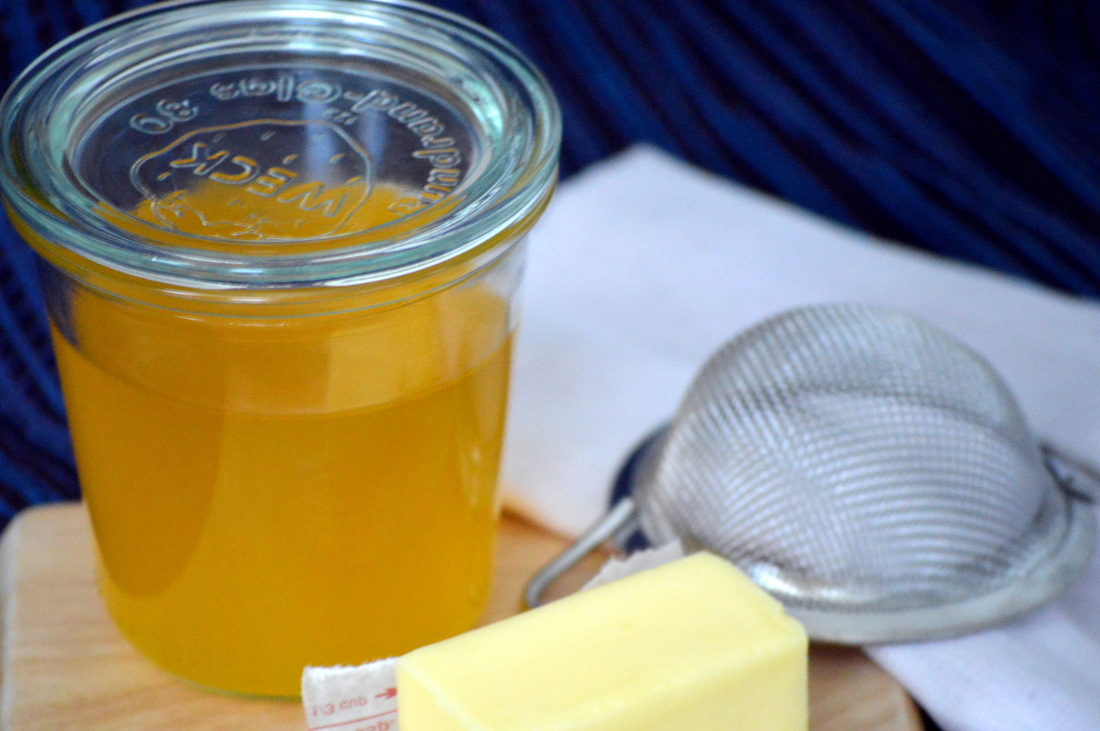
Making your own ghee is easier than you think: all you need is high quality unsalted grass-fed butter. You can easily find this in any grocery store. The other tools you will need are a metal mesh strainer, a few pieces of cheesecloth, and an air-tight container in which to store the ghee.
|
It has been a few weeks since I last posted, but I had a good reason: my husband and I purchased and moved into our first home! The past few weeks were stressful and busy, but buying your first home is such an exciting time, especially when you've spent the last 12 years in a dorm room or apartment. My wonderful parents were nice enough to come help us set up and organize. They also guided us through the Hindu ritual of blessing a new home, called grah pravesh. As part of this ritual,one needs to make something sweet, and most Indian sweets require the use of ghee, or clarified butter.
The benefit to making your own ghee is that you can make as much as you would realistically use before it goes bad. When you buy it at the store, it comes in a large jar and is typically more than I could ever use in 1 year. When I make it at home, I only end up with about 6 ounces (three-fourths of a cup). In my opinion, ghee gets a little bit of a bad rap. Yes, some people use entirely too much ghee in their cooking, but when used sparingly ghee has some nice benefits, such as its high smoke point and its ability to last for months without refrigeration.
Making your own ghee is easier than you think: all you need is high quality unsalted grass-fed butter. You can easily find this in any grocery store. The other tools you will need are a metal mesh strainer, a few pieces of cheesecloth, and an air-tight container in which to store the ghee.
2 Comments
Today's post is a guest post from Heena over at The Indus Tijori! Her blog is about South Asian women's lifestyle, including fashion, travel, and food. If you have not checked out her blog yet, you should. I especially love her fashion tips! ***** Oh, Indian food, how I love thee. Soft and airy dhoklas sprinkled with fresh shredded coconut and whole green chilies; crispy dosas served with hot sambhar that warms your soul; cold spicy pani poori on those hot summer afternoons; jhaal moori with extra mustard oil that goes straight to your nose; creamy koftas with very garlicky naan fresh from the tandoor; the ultimate comfort dish of khichdi after a long journey; and just simple garam garam rotis with my favorite subzi -- what would life be without these dishes? It would be a dark and dreary world indeed.
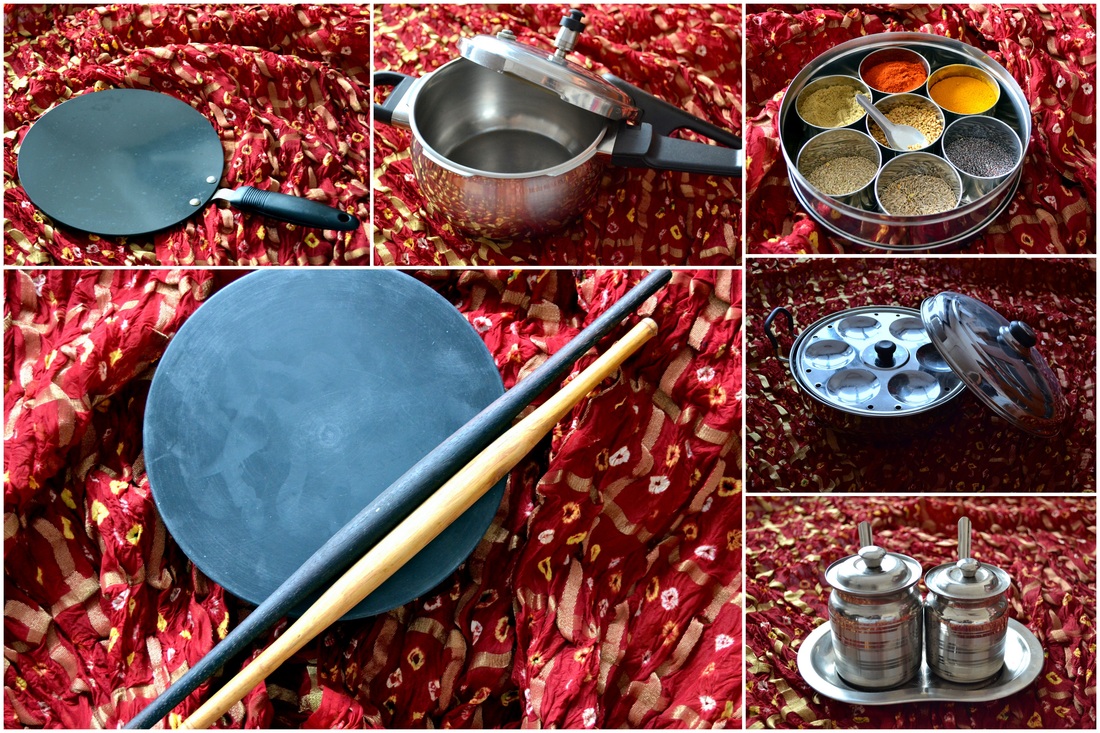
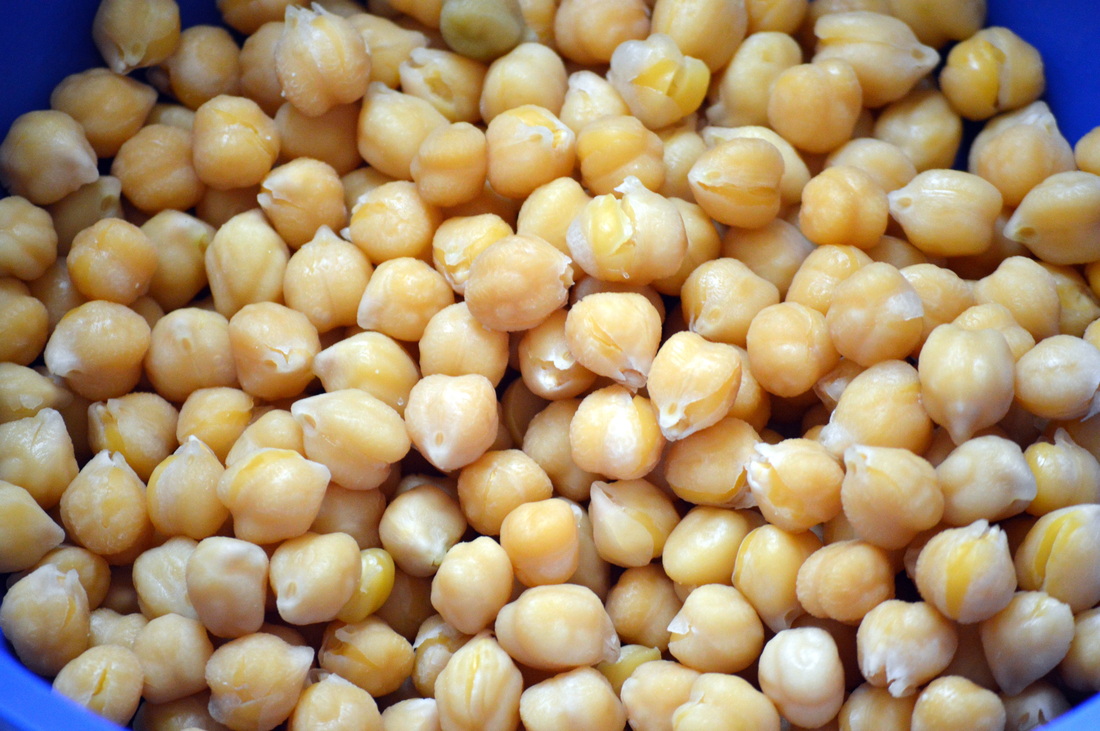
As much as I love Indian food, it does come with a lot of baggage – meaning gadgetry, equipment, and ingredients needed to make a dish. My first kitchen was in a teeny tiny apartment in New York City. I quickly realized that I could only keep basic essentials. But what essentials did I need? This is where my absolutely fabulous Mummy came to the rescue. And this is where we will begin a three-part series of the essentials of the Indian kitchen. This is a quick tutorial on how to rehydrate and cook beans and legumes in a slow cooker. Indian food often calls for beans and lentils as ingredients. With most types of lentils, you can only find them dry and you have no choice but to rehydrate and cook them. With beans, you can find them canned; but I have learned the hard way that canned beans do not hold a candle to dried beans. More importantly, using dried beans is both healthier and less expensive! Win-win situation if you ask me! You can always pressure cook beans. But if you don't have a pressure cooker and/or just want to let the beans and legumes cook without paying much attention to them, the slow cooker is the way to go. I will note that slow cooking your beans and legumes requires a bit of advanced planning, but I normally make twice the amount I will need and freeze half. That way you don't have to plan in advance every single time!
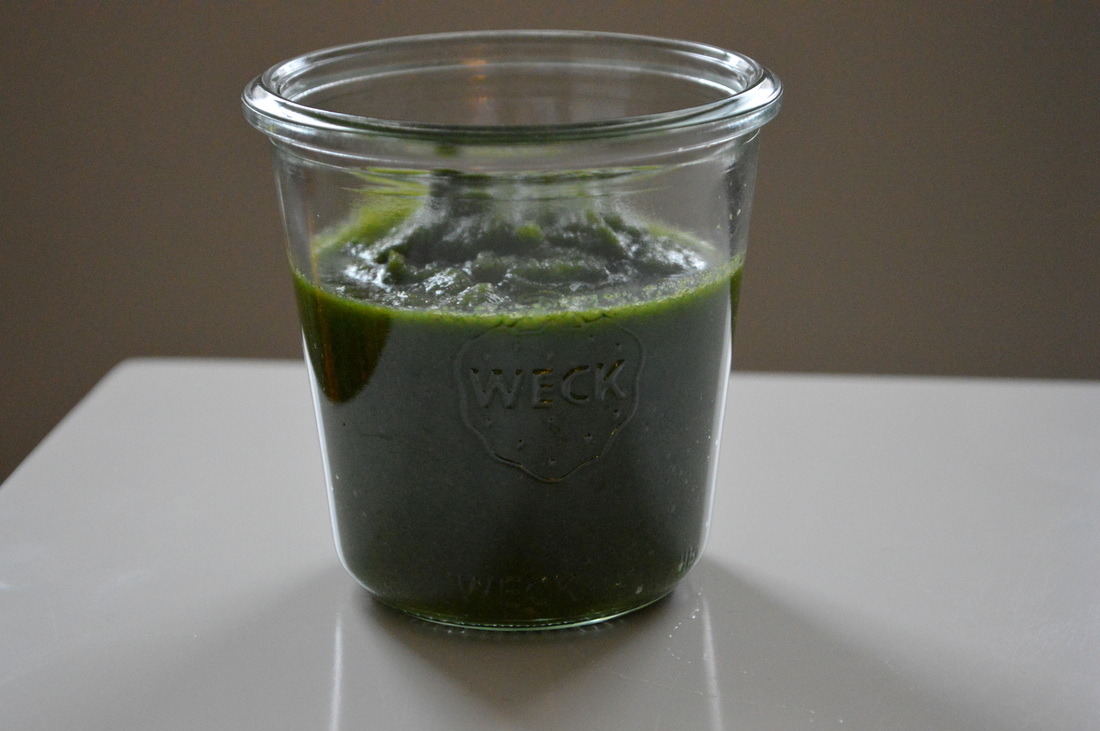
For this post I used dried chickpeas, but the same process applies to all beans and legumes. **One thing I want to note is that if you are using kidney beans, make sure to put them in a pot of hot water and bring the water to a boil for two minutes before putting the kidney beans into your slow cooker. There is a toxin in kidney beans, and boiling the beans gets rid of it!** Chutney is a general word used in Indian cuisine for a condiment made with some mixture of spices, herbs, and vegetables or fruit. Chutneys may be sweet, sour, spicy, or a combination of all three. Chutneys are used frequently in Indian dishes to add flavor or heat to food. Indian grocery stores all sell a variety of pre-made chutneys, and when you are a jam they are great. If you have a little bit of time, however, nothing tastes as good as homemade chutney, which you can tailor to your tastes. Another big plus, as always, is that you know the ingredients you are putting in your homemade chutney and there are not artificial ingredients or preservatives!
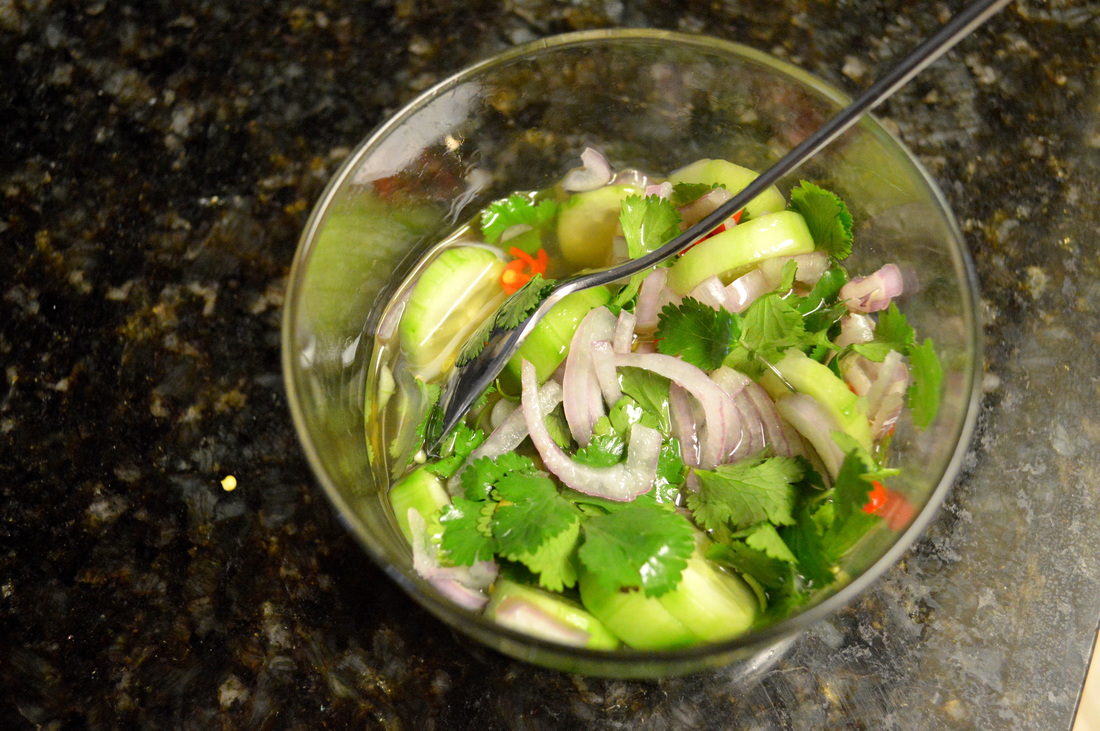
This dipping sauce is actually a Thai recipe; but there is no reason it cannot be used with Indian food! It is an easy way to add additional spice to your dishes. In Thailand, it is traditionally served with chicken satay. The recipe for this dipping sauce essentially involves quick-pickling cucumbers. The pickling liquid becomes infused with the other ingredients in the recipe, and these flavors transfer to the pickled cucumbers. The cucumbers retain a nice crunch because the dipping sauce is prepared right before serving!
|
Categories
All
Archives
July 2015
AuthorExploring Indian cuisine and trying to learn the recipes of my family. I hope to help and inspire others along the way. |



 RSS Feed
