
It has been a few weeks since I last posted, but I had a good reason: my husband and I purchased and moved into our first home! The past few weeks were stressful and busy, but buying your first home is such an exciting time, especially when you've spent the last 12 years in a dorm room or apartment. My wonderful parents were nice enough to come help us set up and organize. They also guided us through the Hindu ritual of blessing a new home, called grah pravesh. As part of this ritual,one needs to make something sweet, and most Indian sweets require the use of ghee, or clarified butter.
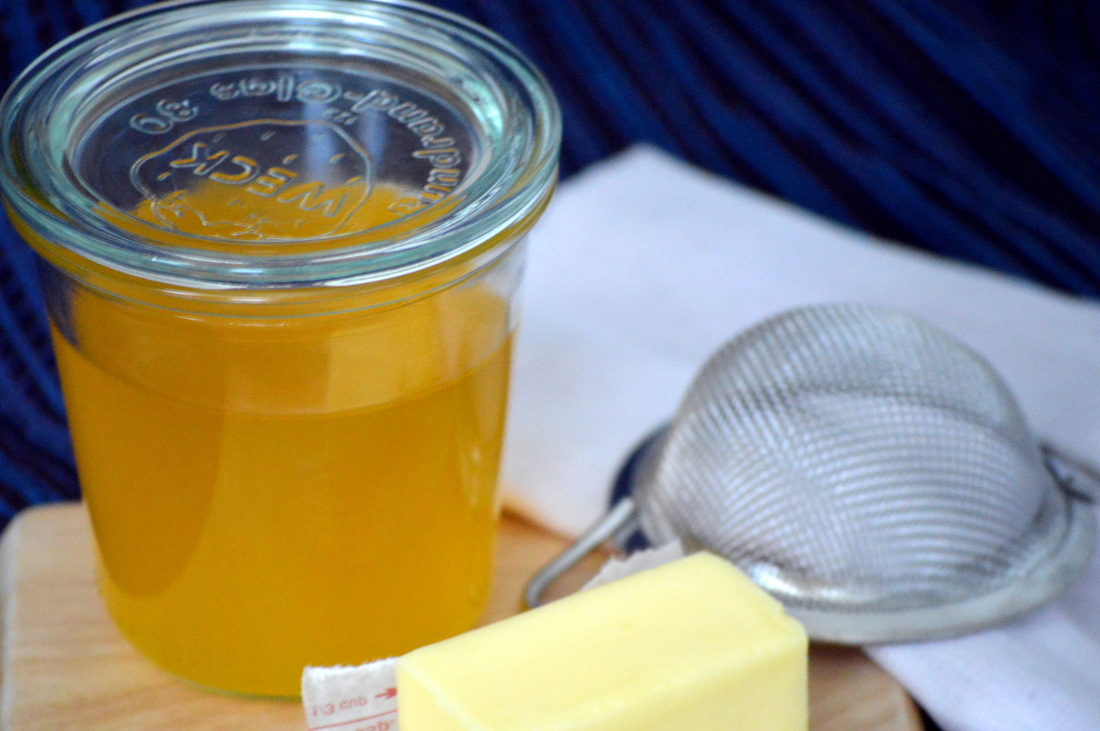
The benefit to making your own ghee is that you can make as much as you would realistically use before it goes bad. When you buy it at the store, it comes in a large jar and is typically more than I could ever use in 1 year. When I make it at home, I only end up with about 6 ounces (three-fourths of a cup). In my opinion, ghee gets a little bit of a bad rap. Yes, some people use entirely too much ghee in their cooking, but when used sparingly ghee has some nice benefits, such as its high smoke point and its ability to last for months without refrigeration.
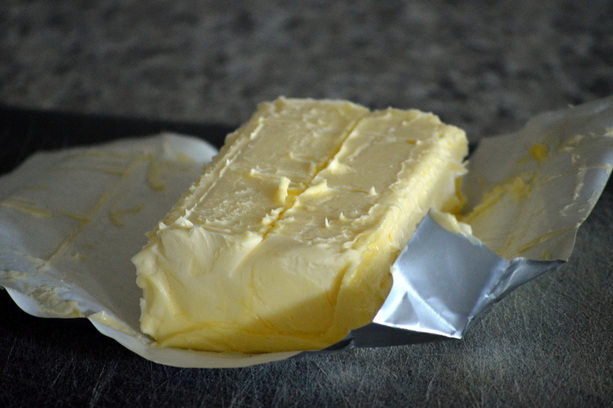
Making your own ghee is easier than you think: all you need is high quality unsalted grass-fed butter. You can easily find this in any grocery store. The other tools you will need are a metal mesh strainer, a few pieces of cheesecloth, and an air-tight container in which to store the ghee.
Making your own ghee is easier than you think: all you need is high quality unsalted grass-fed butter. You can easily find this in any grocery store. The other tools you will need are a metal mesh strainer, a few pieces of cheesecloth, and an air-tight container in which to store the ghee.

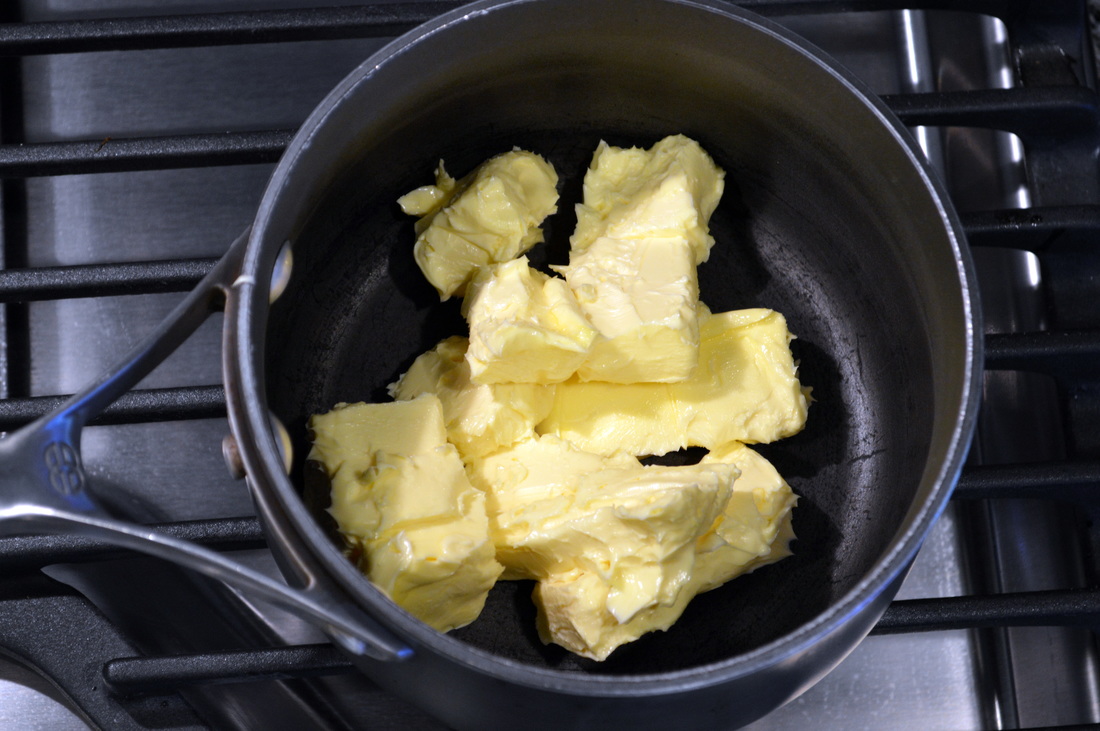
To make ghee, start by unwrapping the butter and cutting into small square pats. Add the butter to a small pot, preferably non-stick.
|
|
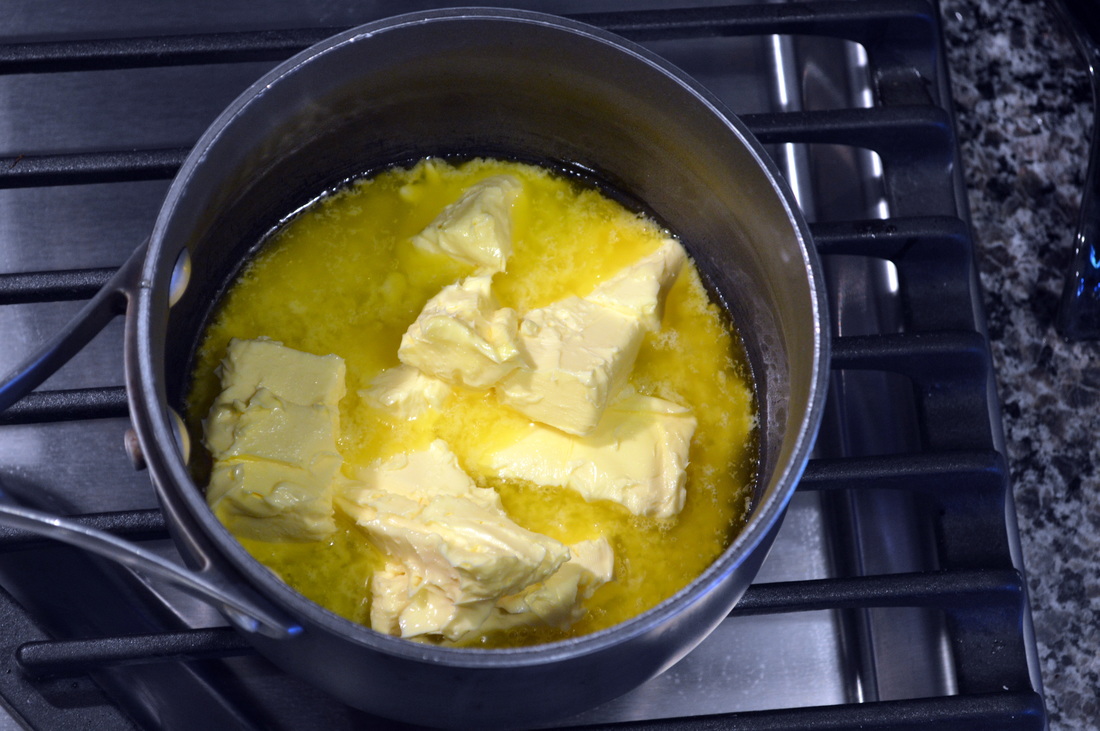
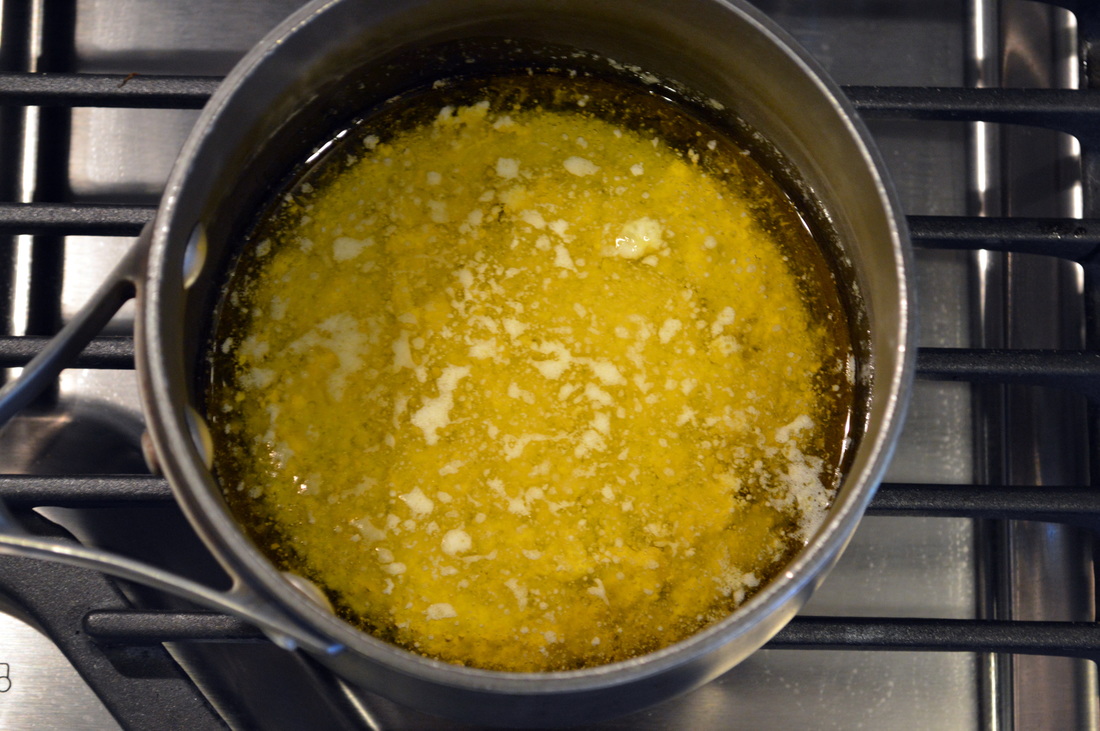
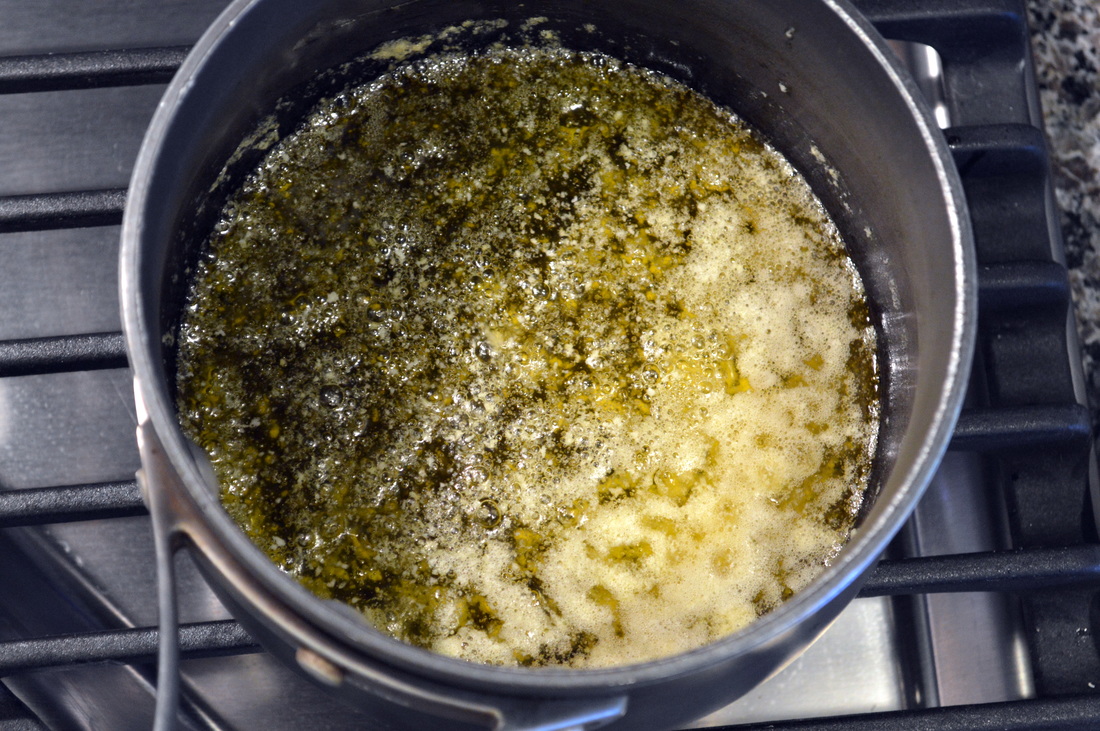
Heat the butter over medium-low heat until all the butter pats are dissolved into a liquid. You can see in the picture below that the milk solids are sitting at the bottom of the pot as the butter begins to melt.
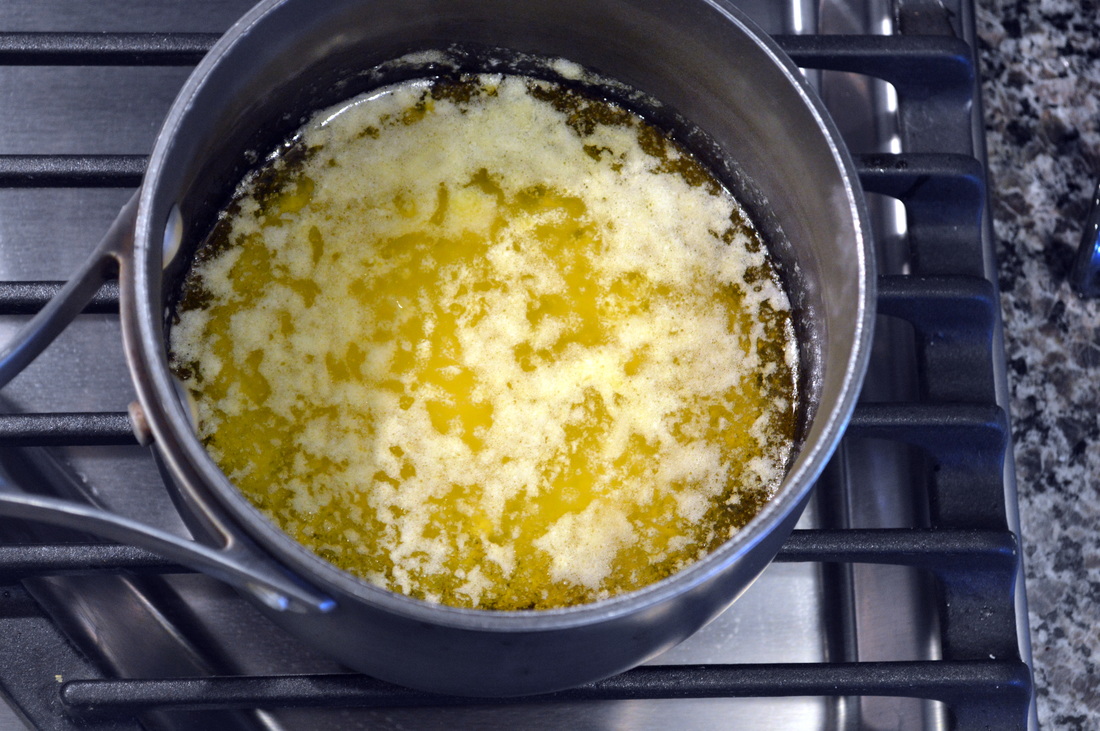
The butter will begin to bubble--ensure that the bubbling is more of a simmer than a boil. If the butter begins boiling too vigorously, lower the heat. Eventually a layer of foam will cover almost the entire surface of the butter.
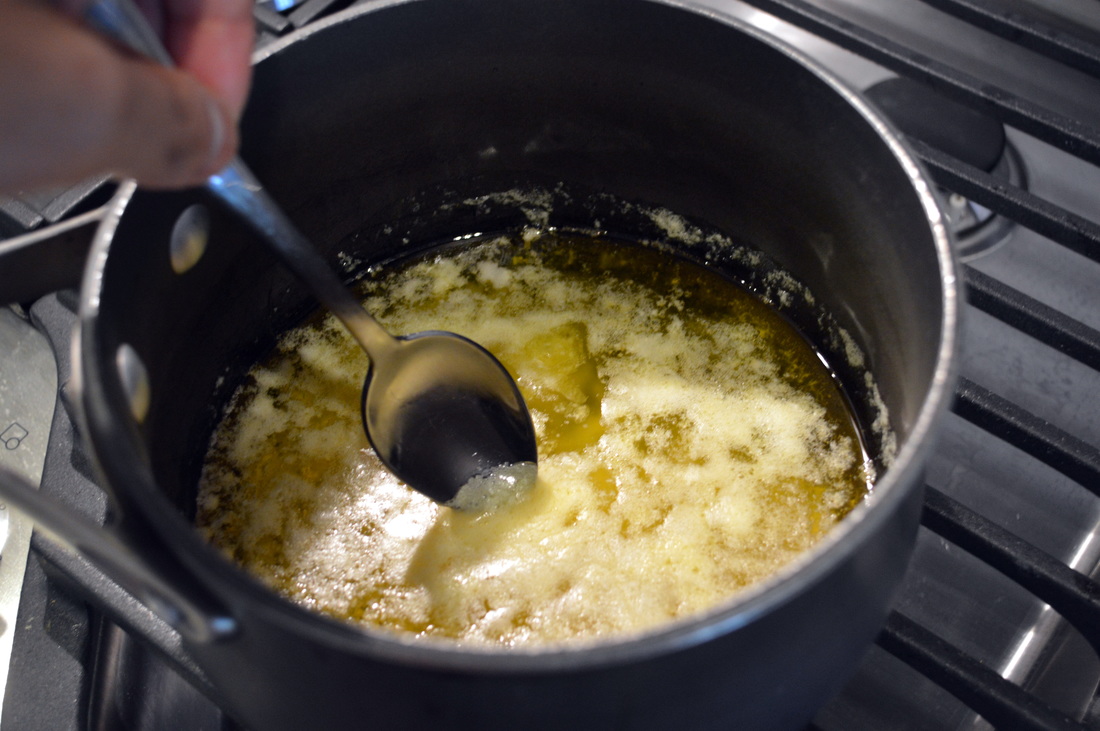
Once the foam covers almost the entire surface of the butter, use a spoon to skim the foam off the surface.
In the photograph above, you can see the foam has been removed from the top of the butter, and you can once again see the milk solids at the bottom of the pot. Now we will allow the butter to foam a second time, so again let the butter simmer until a foam appears at the surface of the butter.
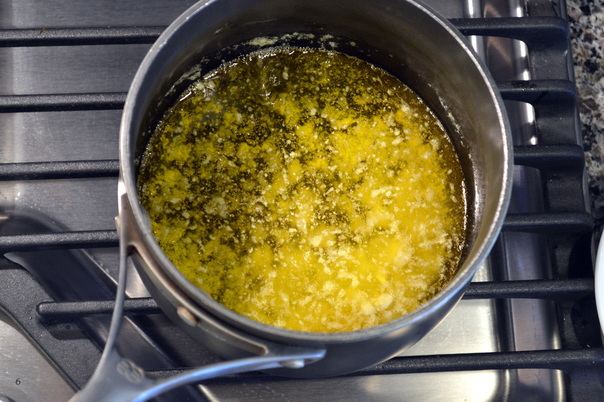
You can see in the photograph above that the butter foamed a second time and covered almost half the surface of the butter.
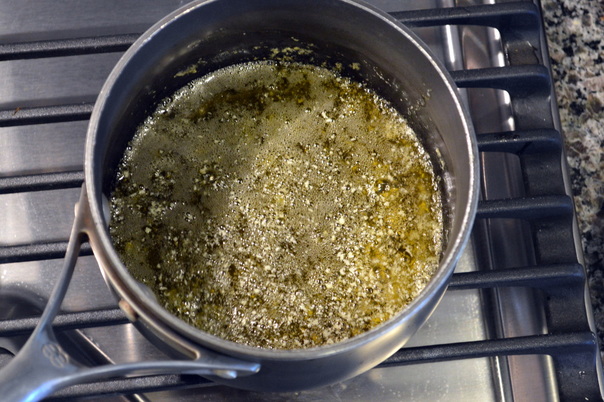
And now that the foam has been removed, you can see the that the milk solids have become slightly browned pieces at the bottom of the pot. The butter itself has turned from a golden yellow color to an amber color. At this point, remove the pot from the heat and allow it to cool for 5 minutes.
|
|
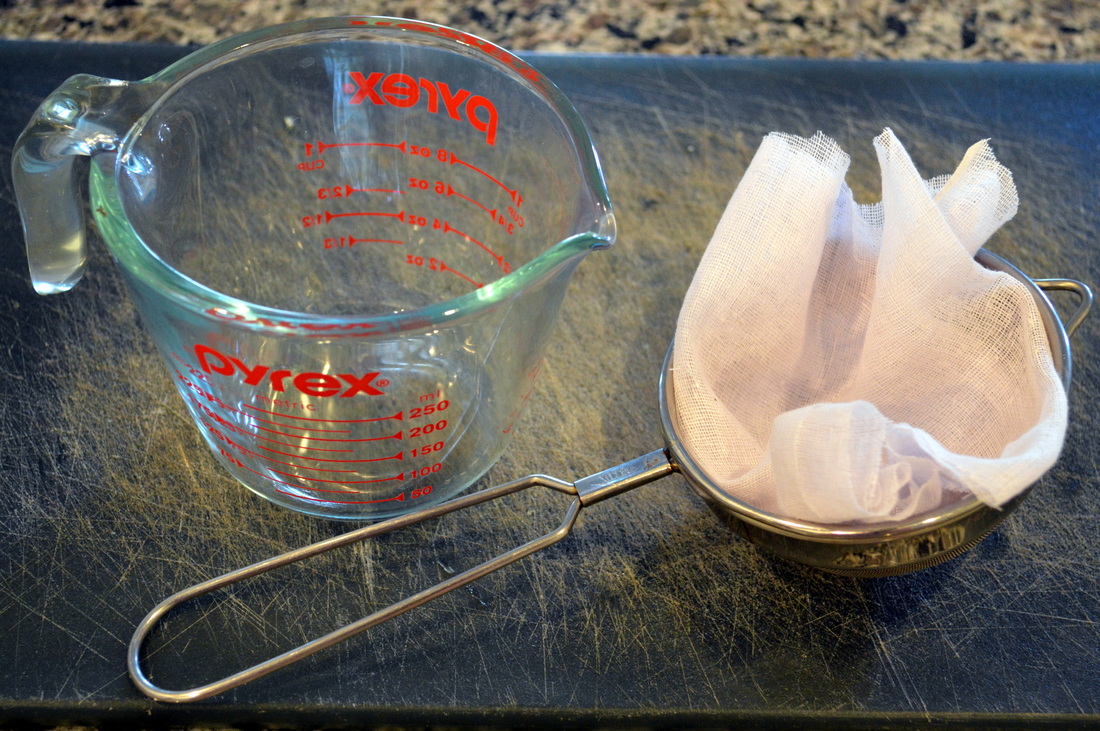
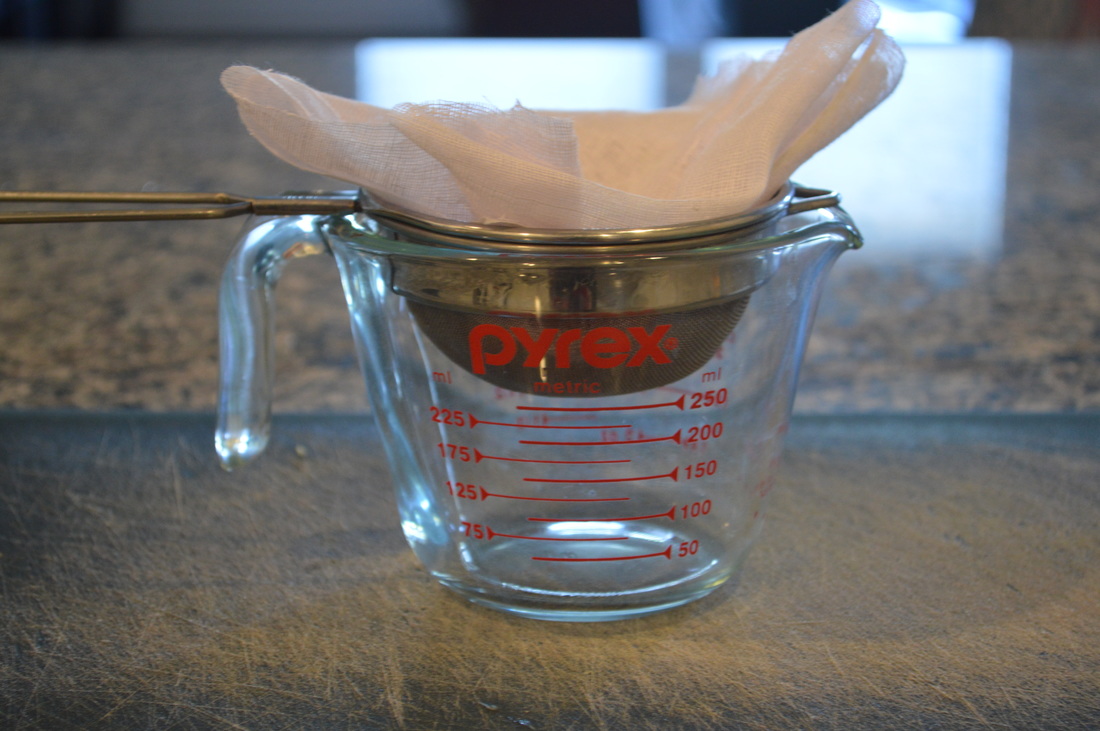
While waiting for the ghee to cool, you can set up your strainer. Cut a few squares of cheesecloth (I used 3) and place them inside a fine metal mesh strainer. Once the ghee has cooled for 5 minutes, carefully (I wore oven mitts to prevent any burns), pour the ghee through the strainer into a measuring cup or directly into your air-tight container.
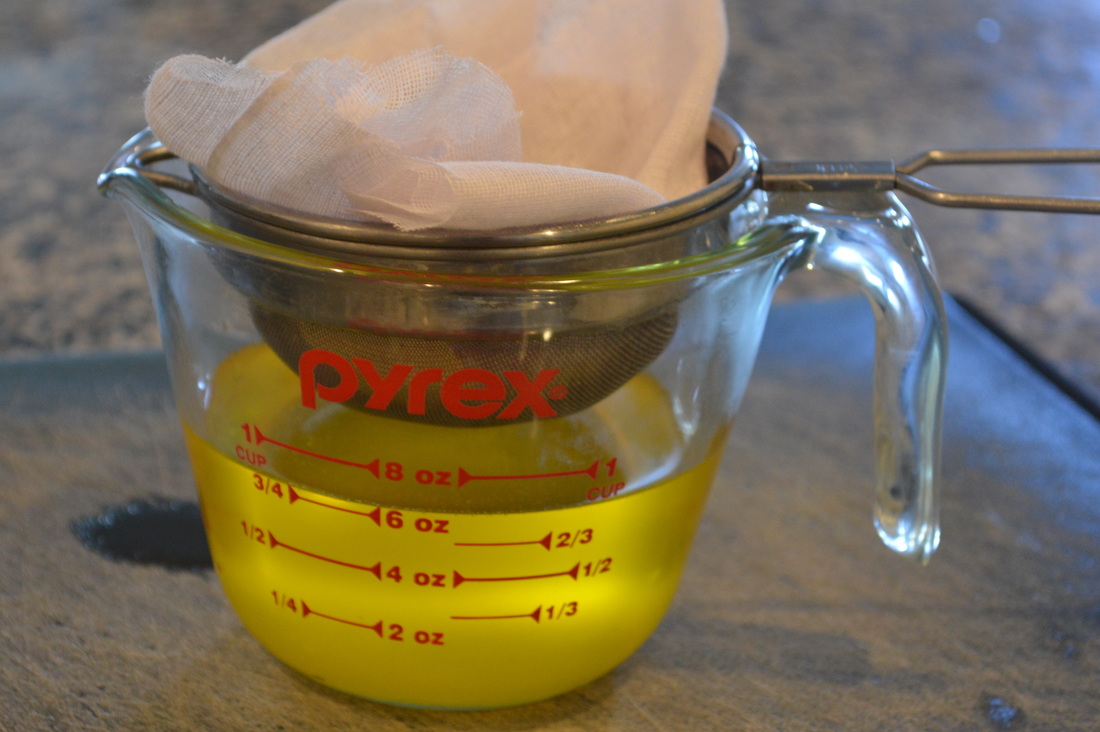
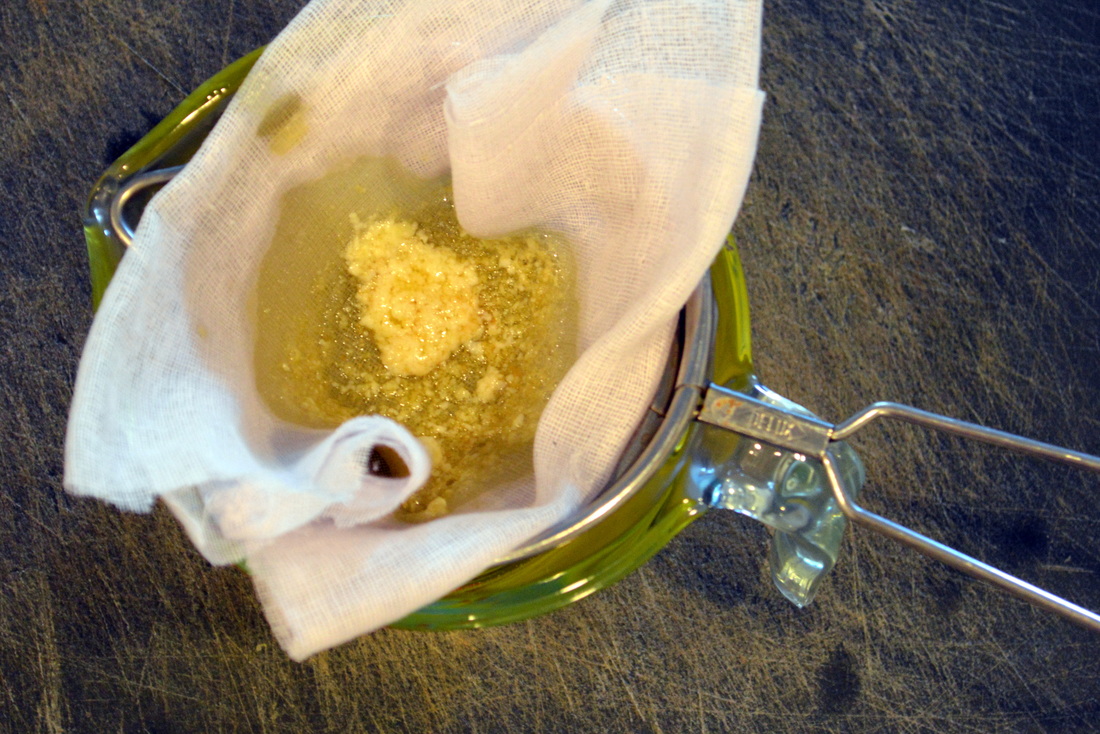
You can see that the cheesecloth and strainer have kept the milk solids out of the finished product.
Allow the ghee to cool to room temperature before sealing the air-tight container. Keep the container of ghee in a dark place, such as inside a cupboard, for up to 3 months!
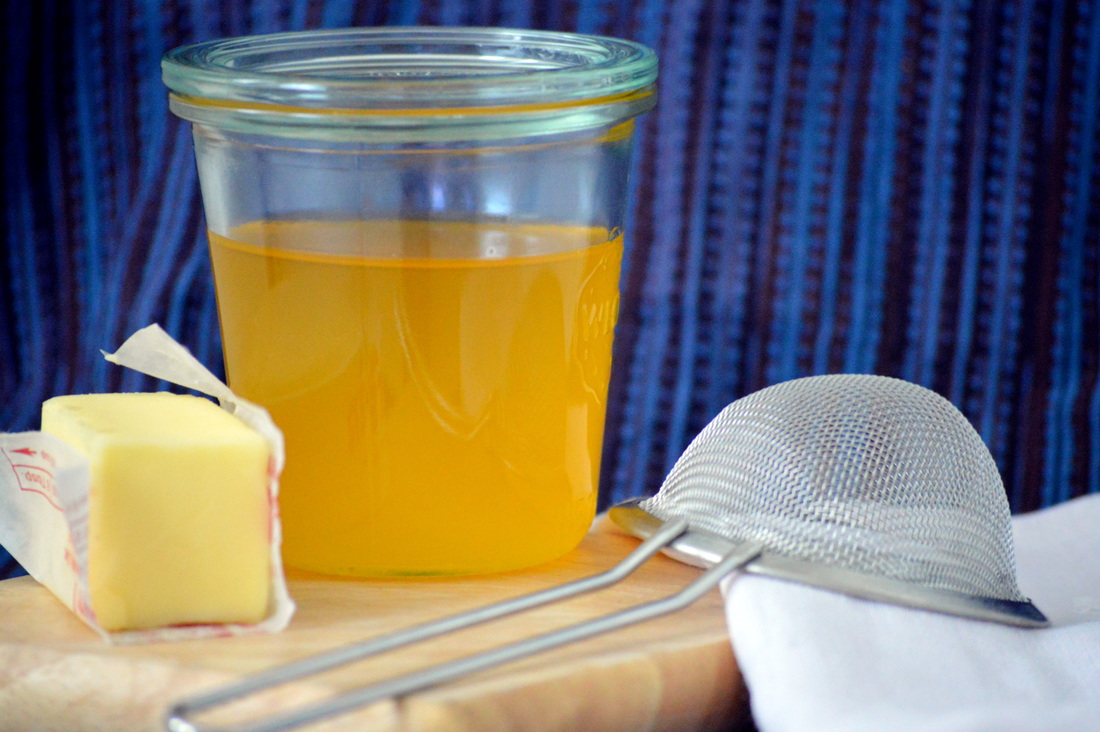
Ingredients (makes 6 oz of ghee):
- 8 ounce package of high-quality unsalted grass-fed butter, such as Kerrygold brand
Kitchen Equipment:
- 8 ounce air-tight container
- Fine mesh metal strainer
- Cheesecloth
- Non-stick pot
Directions:
- Cut the butter into square pats. Place the pats into the pot over medium-low heat.
- Allow the butter to melt completely. The butter will begin to bubble--it should be more of a simmer than a boil. If the butter is bubbling too vigorously, lower the heat.
- After a few minutes, a foam will appear on the surface of the butter. After the foam covers most of the surface of the butter, use a spoon to remove the foam.
- Allow the butter to bubble and produce a second foam. Again, after the foam covers almost half the surface, use a spoon to remove the foam.
- Remove the pot from the heat and allow it to cool for 5 minutes.
- While the butter cools, cut 3 to 4 squares of cheesecloth and place these squares on top of one another inside the mesh strainer.
- Once the butter has cooled, pour the butter through the cheesecloth and strainer into either a measuring cup or directly into the air-tight container. You should see the remaining milk solids caught in cheesecloth.
- Allow the ghee to cool to room temperature and then close the air-tight container.
- Keep the container of ghee in a dark place, such as a cupboard, for up to 3 months.

 RSS Feed
