
This is a quick tutorial on how to rehydrate and cook beans and legumes in a slow cooker. Indian food often calls for beans and lentils as ingredients. With most types of lentils, you can only find them dry and you have no choice but to rehydrate and cook them. With beans, you can find them canned; but I have learned the hard way that canned beans do not hold a candle to dried beans. More importantly, using dried beans is both healthier and less expensive! Win-win situation if you ask me!
You can always pressure cook beans. But if you don't have a pressure cooker and/or just want to let the beans and legumes cook without paying much attention to them, the slow cooker is the way to go. I will note that slow cooking your beans and legumes requires a bit of advanced planning, but I normally make twice the amount I will need and freeze half. That way you don't have to plan in advance every single time!
For this post I used dried chickpeas, but the same process applies to all beans and legumes. **One thing I want to note is that if you are using kidney beans, make sure to put them in a pot of hot water and bring the water to a boil for two minutes before putting the kidney beans into your slow cooker. There is a toxin in kidney beans, and boiling the beans gets rid of it!**
For this post I used dried chickpeas, but the same process applies to all beans and legumes. **One thing I want to note is that if you are using kidney beans, make sure to put them in a pot of hot water and bring the water to a boil for two minutes before putting the kidney beans into your slow cooker. There is a toxin in kidney beans, and boiling the beans gets rid of it!**
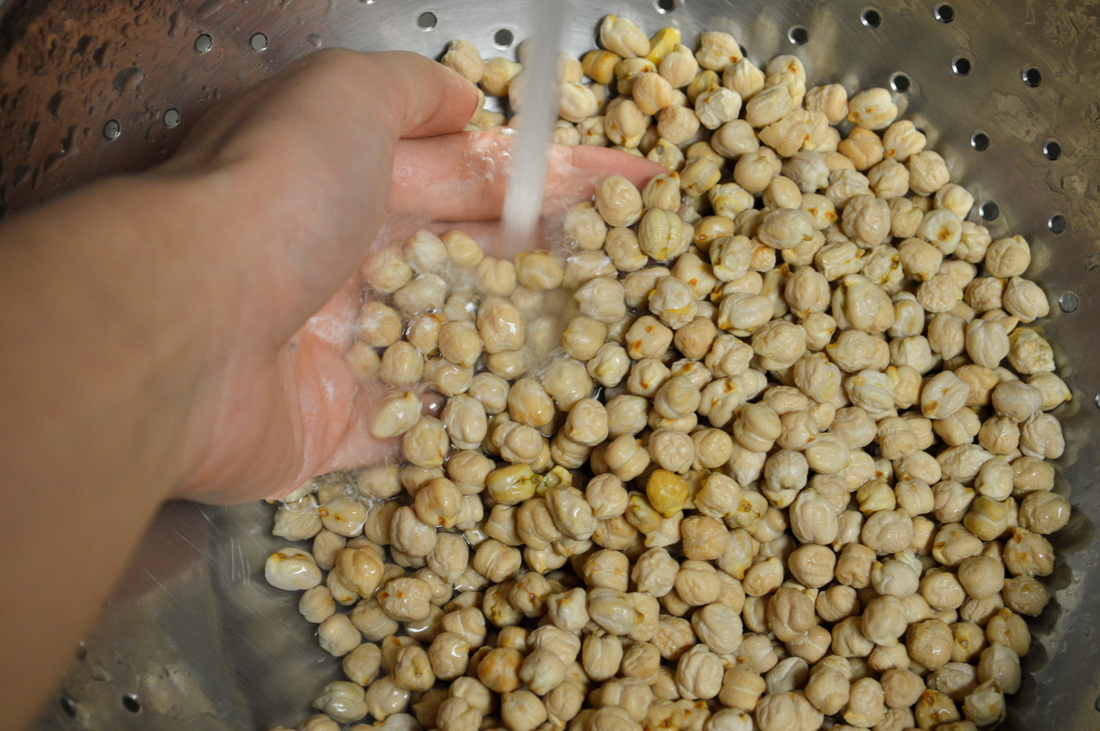
Start off by measuring the dry chickpeas into a colander, and rinse them with cold water.
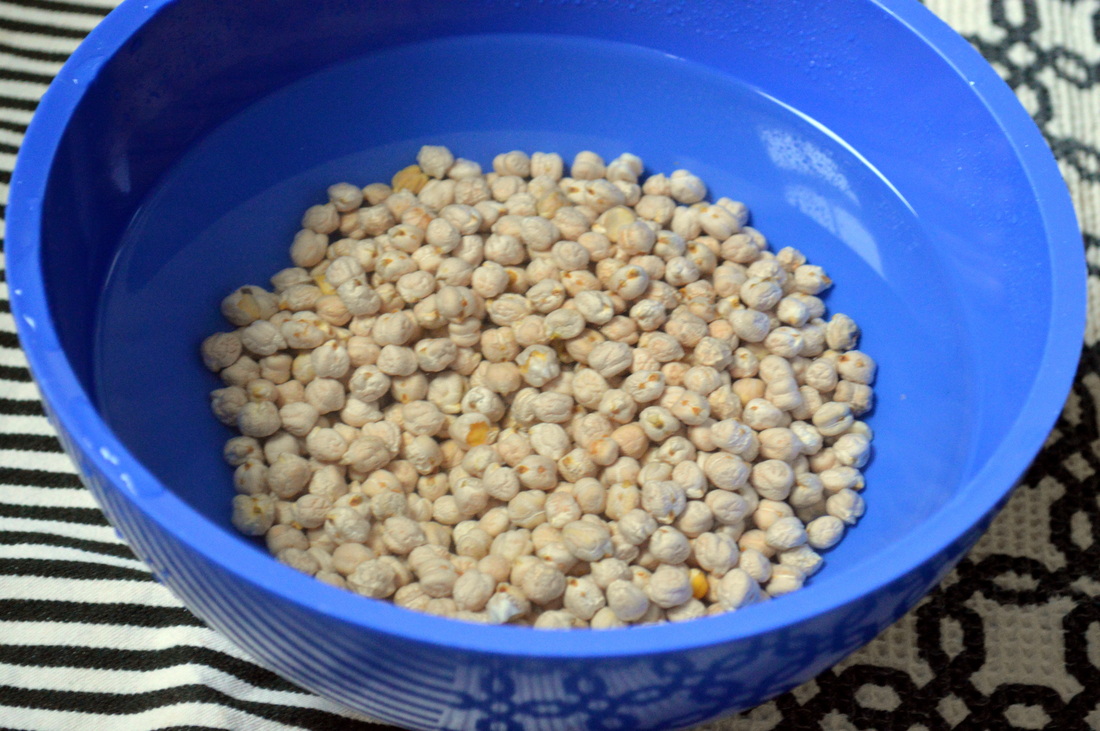
Next, place the chickpeas in a bowl and cover with double the amount of water, e.g., if you have 1 cup of dried chickpeas, cover with 2 cups of water. Cover the bowl with a plate and set aside overnight or for 10 hours.
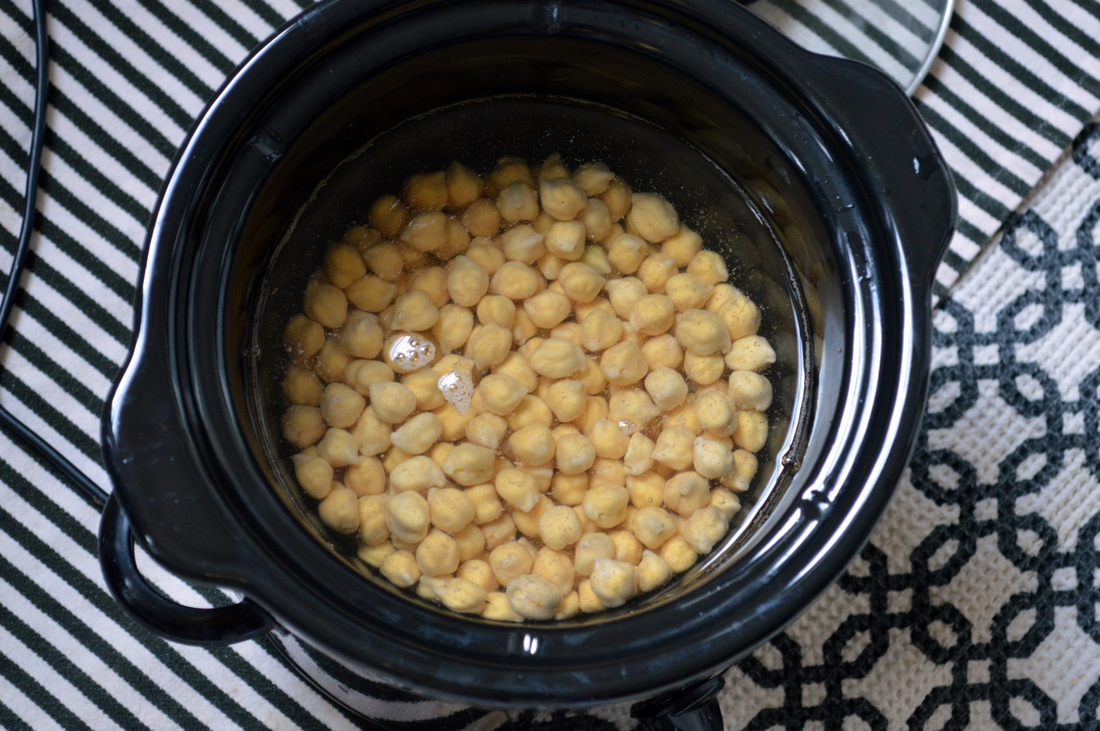
After the chickpeas have soaked, drain them and place them in a slow cooker. Again, measure the chickpeas and use the same amount of water in the slow cooker, e.g., if you have 2 cups of hydrated chickpeas add 2 cups of water to the slow cooker.
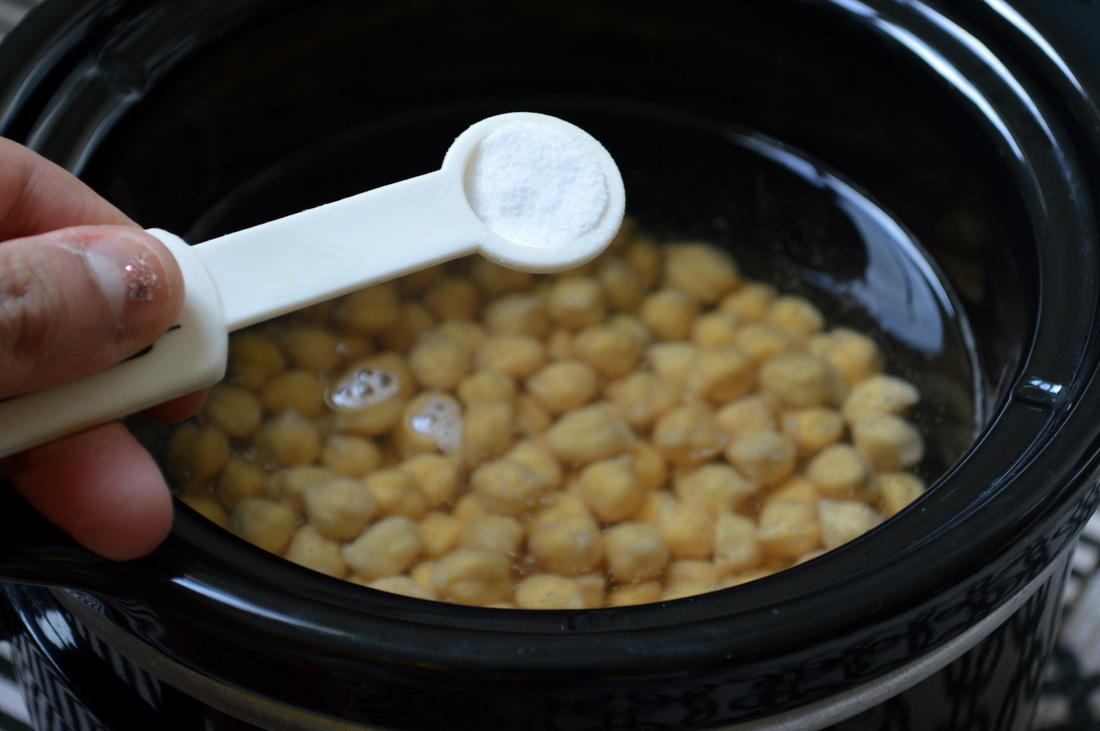
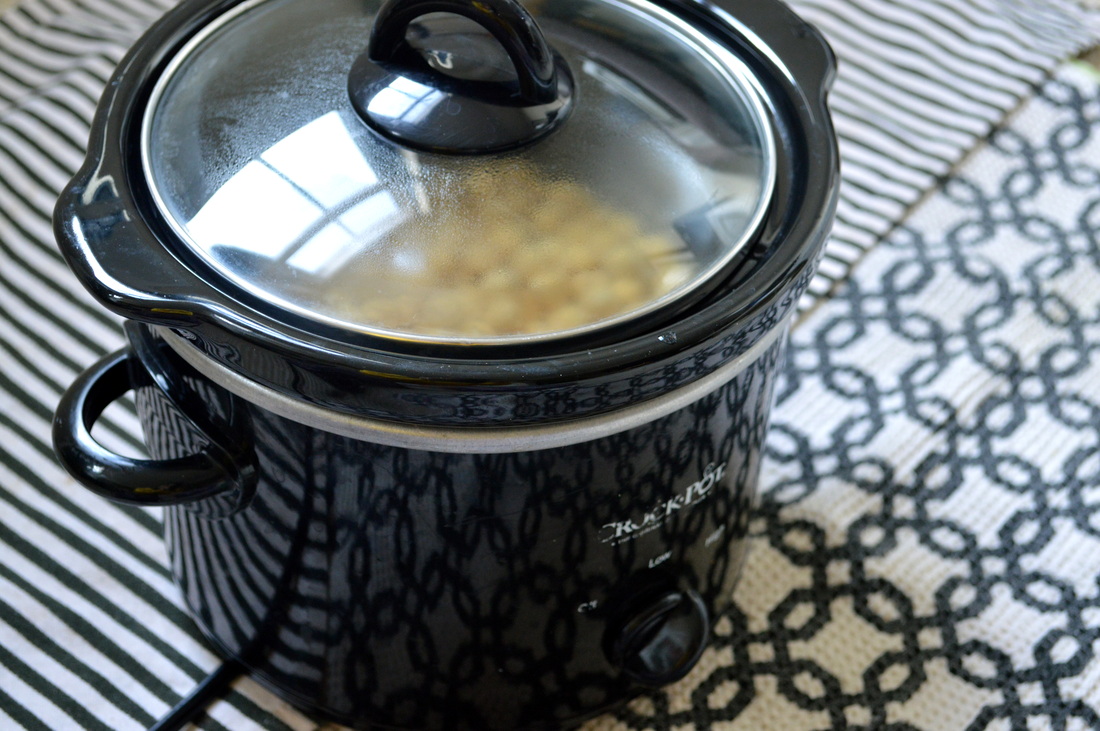
Add baking soda to the slow cooker, and cook it on "High" for 2-3 hours or on "Low" for 4-5 hours.
 |  |
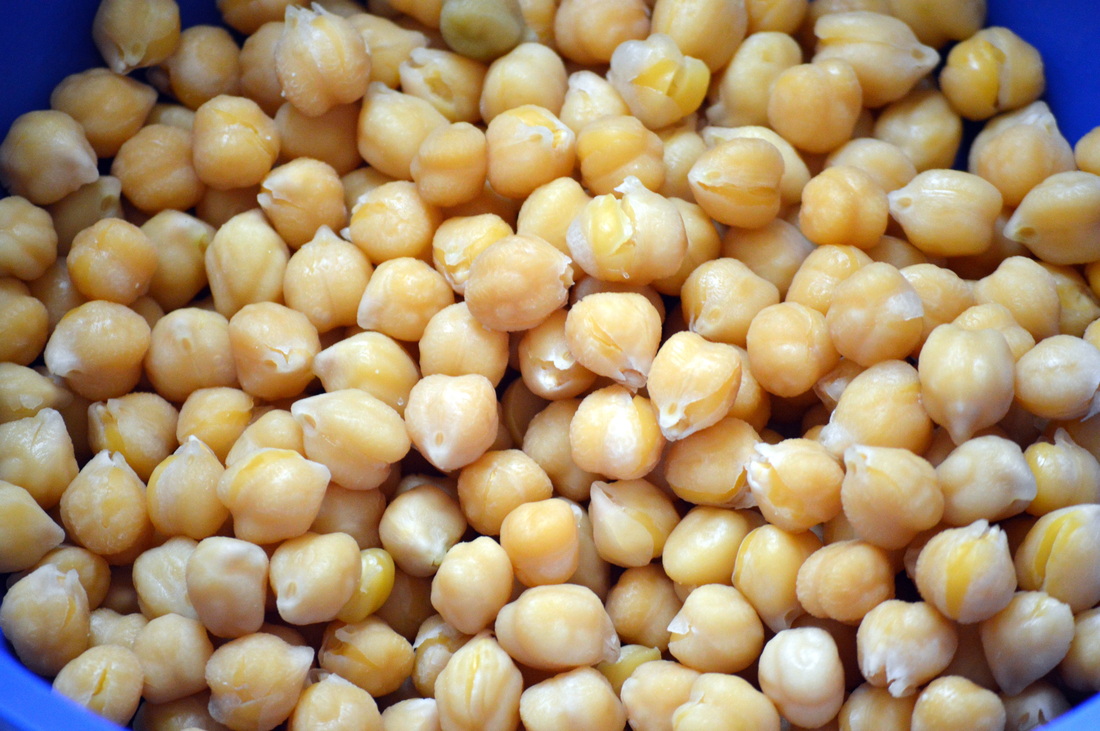
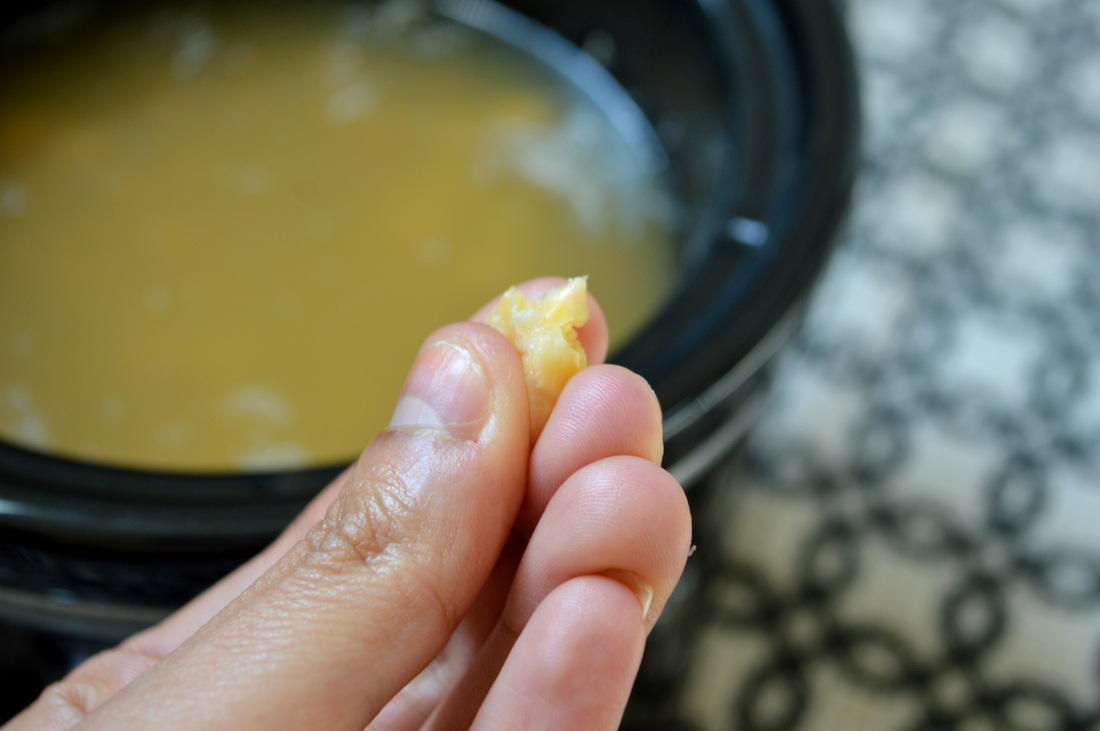
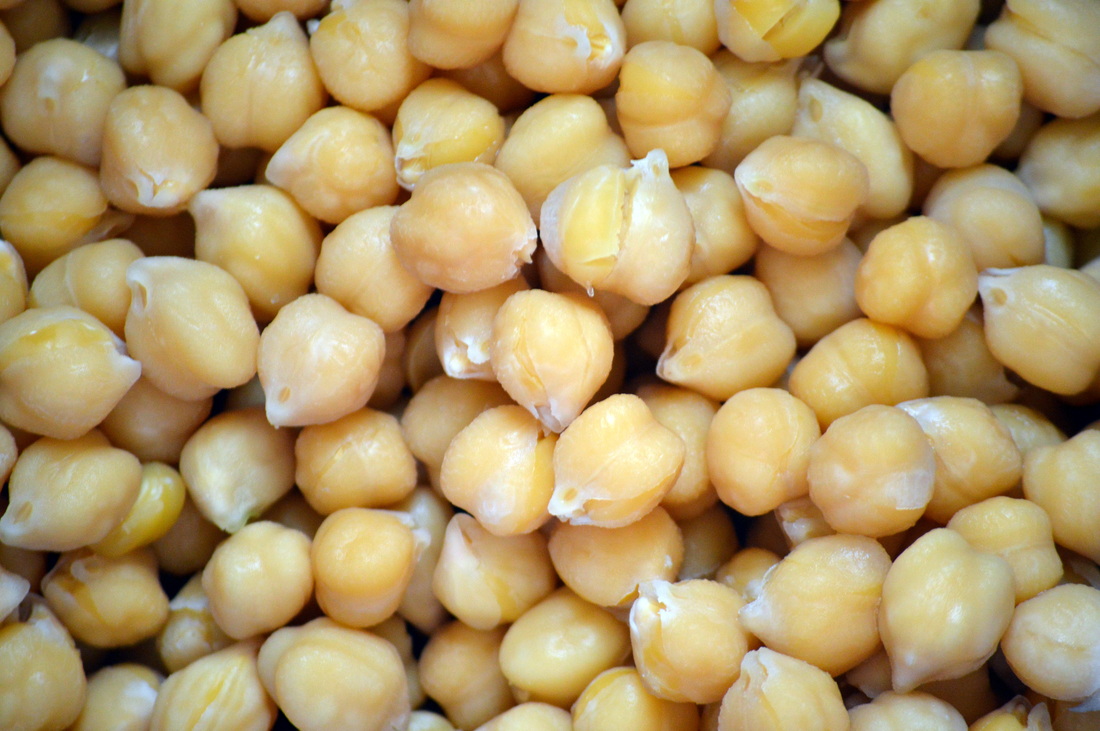
After 2 hours on "High" or 4 hours on "Low," test one or two chickpeas to see if it is cooked. Take a few chickpeas out of the slow cooker and let them cool. Once cooled, squeeze one chickpea between your fingers--if it mashes up easily, it is done cooking. If not, then allow the chickpeas to cook and check on their texture every 30 minutes.
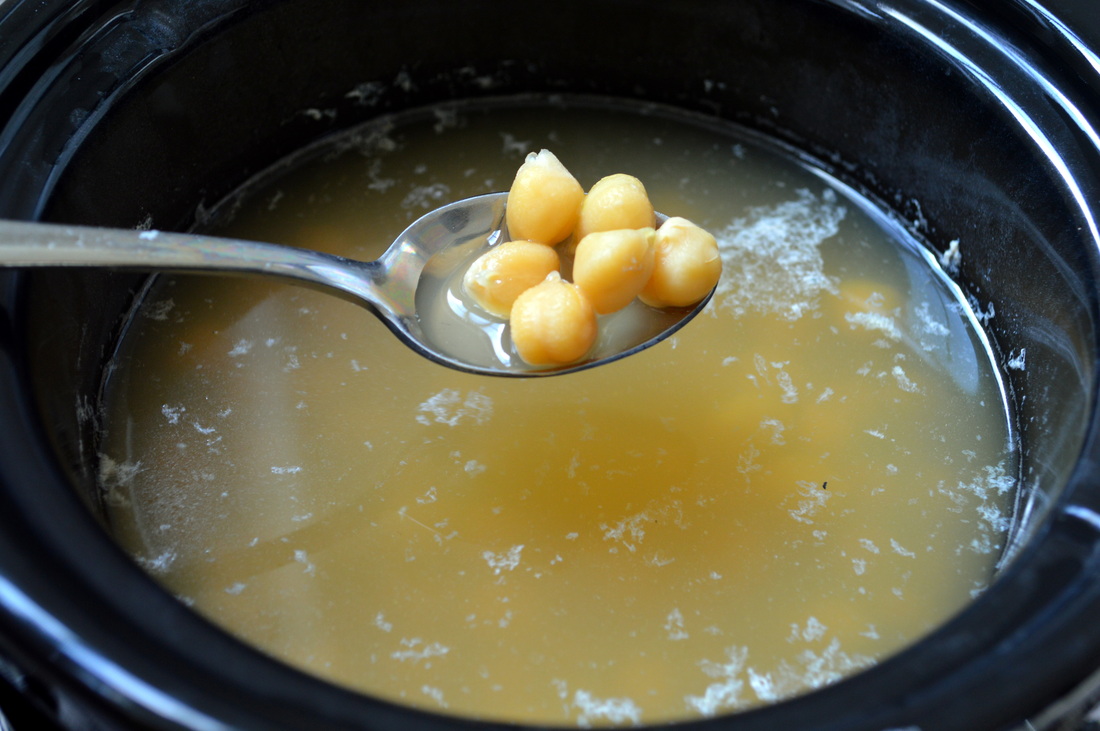
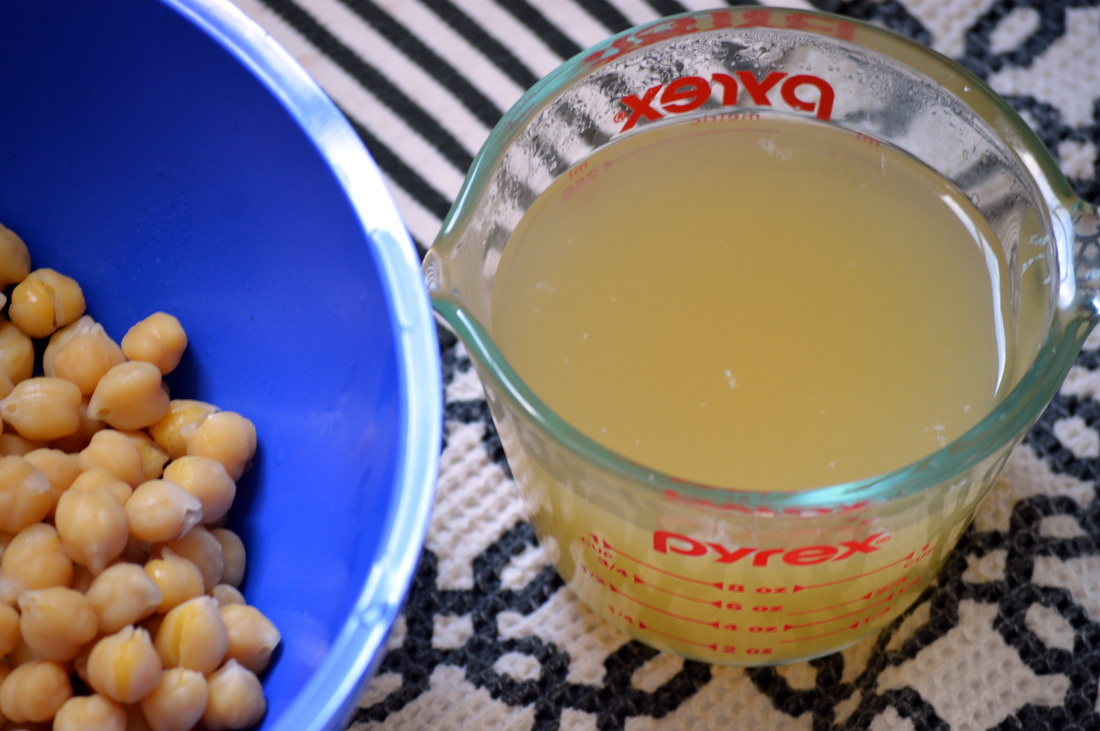
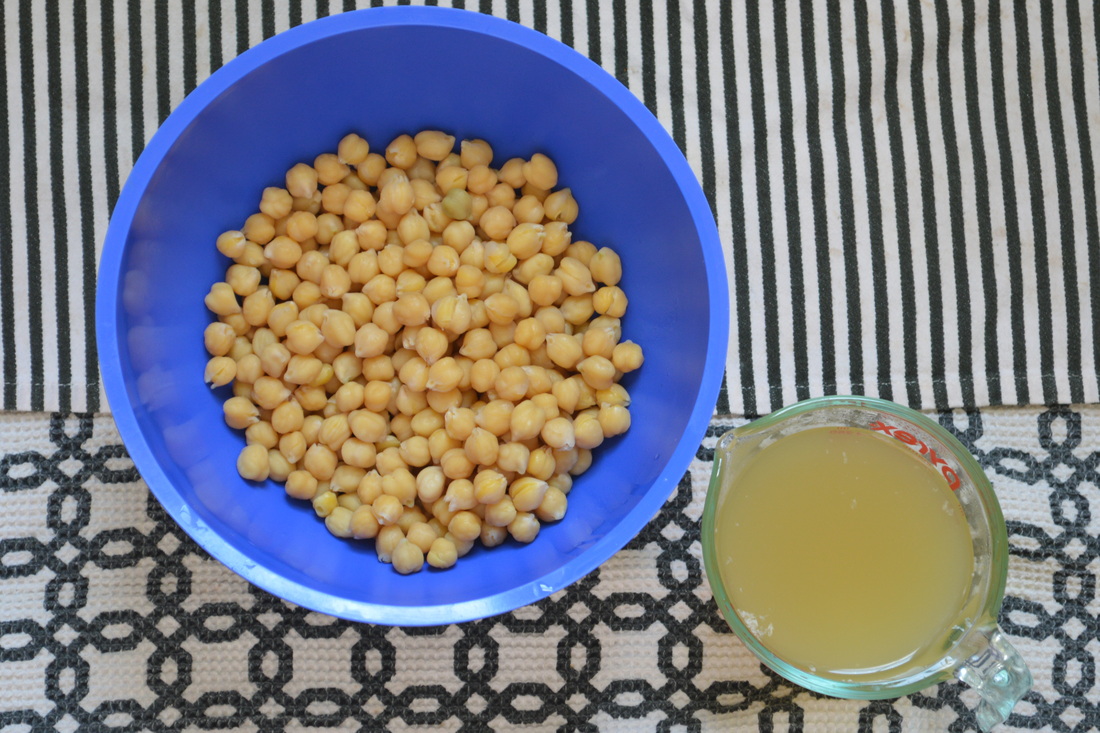
Once the chickpeas have cooked, drain them from the water in the slow cooker--but make sure to reserve the water in a bowl or measuring cup if you need the starchy water for a recipe.
Set the chickpeas aside and let them cool. If not using them immediately in a recipe, store them in an air-tight container in the refrigerator for 2 to 3 days. Alternatively, you can freeze them for up to 6 months.
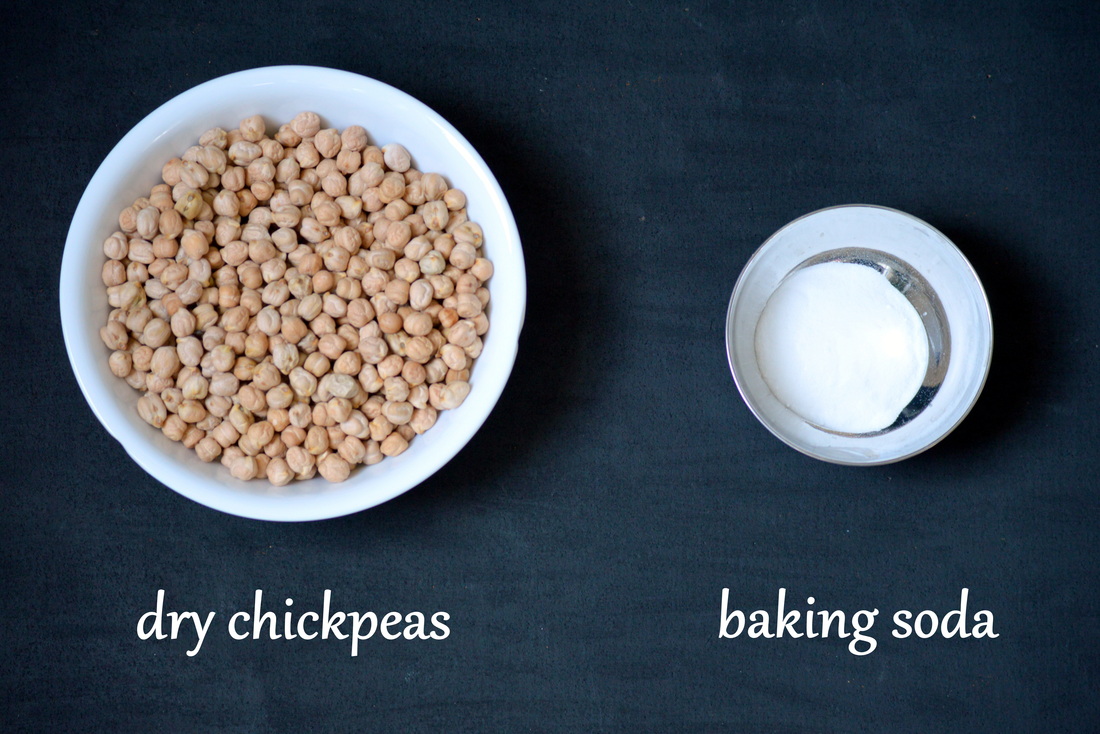
Ingredients (for 2 cups wet chickpeas):
- 1 cup dry chickpeas
- 4 cups water
- 1/4 teaspoon baking soda
Tools:
- Large bowl
- Slow cooker
Recipe:
- Rinse the dry chickpeas under cold water.
- Add the chickpeas to a large bowl and cover with 2 cups of water. Cover the bowl with a plate and let the chickpeas soak overnight or for 10 hours.
- Drain the chickpeas from the soaking water and place them in the slow cooker. Add remaining 2 cups of water to the slow cooker.
- Add the baking soda to the slow cooker and turn the slow cooker on "High" for 2 to 3 hours or on "Low" for 4 to 5 hours.
- After 2 hours on a "High" setting or 4 hours on a "Low" setting, check the texture of the chickpeas. If they mash easily between your fingers, they are done. If not, allow the chickpeas to continue cooking, checking on their texture every 20 to 30 minutes.
- Once the chickpeas are done, drain the water from the slow cooker into a bowl or measuring cup and set aside if the starchy water is required in your recipe.
- Set the chickpeas aside to cool. If not using them immediately, place them in an air-tight container and place in the refrigerator for 2 to 3 days. Alternatively, you can freeze them for up to 6 months.

 RSS Feed
