
Another rainy day, another "comfort" recipe. Fall is in full swing and the cooler temperatures and wet weather have led me to make lots of warm and seasonal foods. One of my favorite Indian foods is the simple paratha: a layered flatbread made with whole wheat flour. There aren't many foods that, for me, are more comforting than a hot paratha right off the tava (grill pan). I even eat them by themselves without any accompaniments.
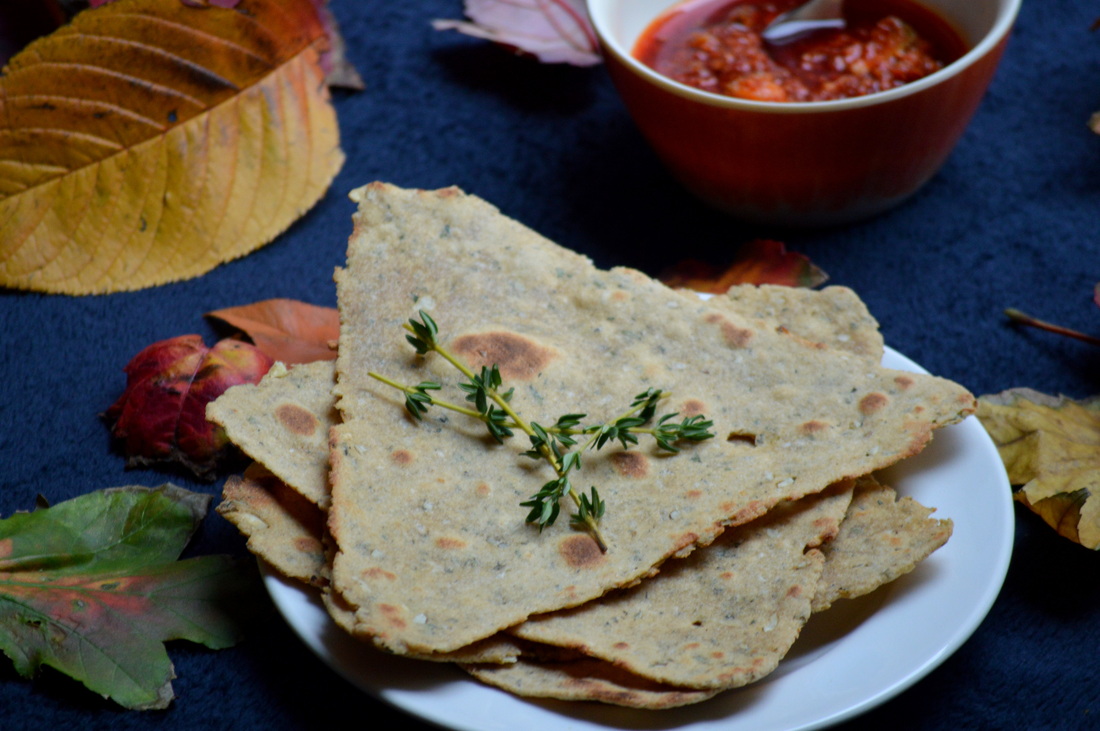
In northern India, there are dozens of types of breads. Growing up, my favorite was naan; I think this is because naan tends to be slathered with butter and is made of white flour. As I've gotten older, though, parathas have become my absolute favorite. I love that they are healthy because they are made of whole wheat flour, and I love that you can pick the layers apart as you eat them. The first time I helped make parathas was with my mother-in-law. I never knew how easy they were to make! Making them with her inspired me to try my hand at making them myself.
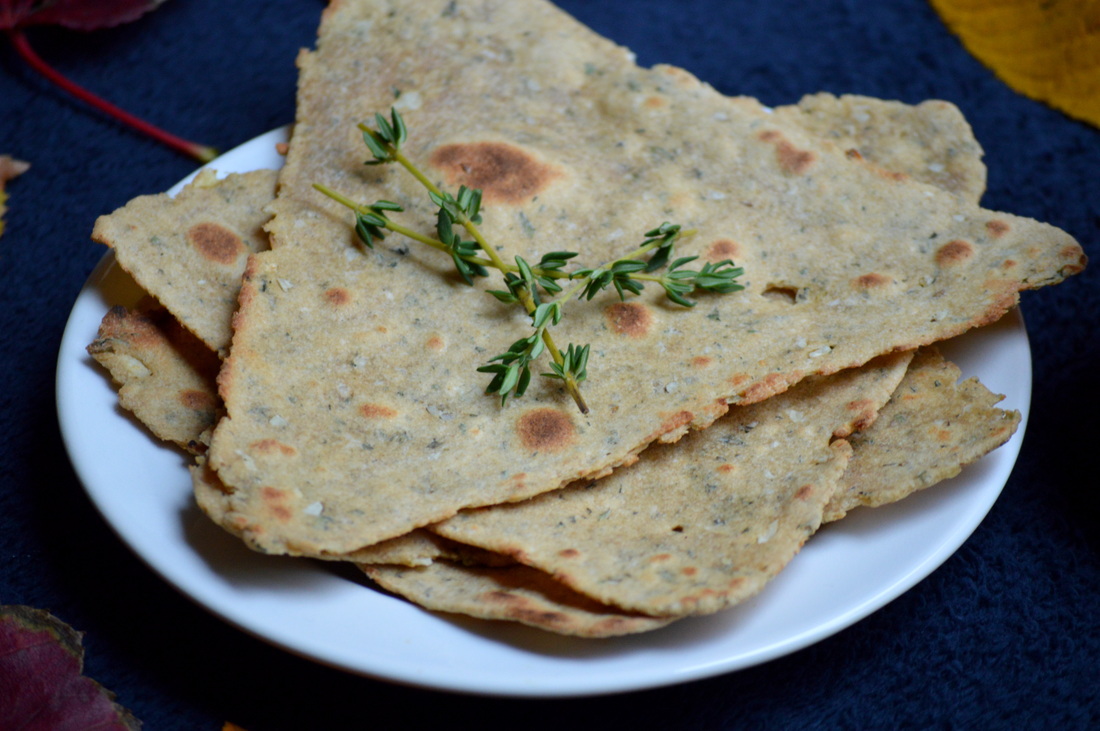
You will find many types of parathas: they can be plain; stuffed with potatoes or lentils; or flavored with herbs and spices, like mint or fenugreek. I had some leftover thyme from another recipe, and as I was smelling it I was reminded of a seed often used in Indian breads: ajwain. My mother-in-law uses ajwain in many of the breads she makes, and I love the taste. So I decided to try making the parathas with thyme.
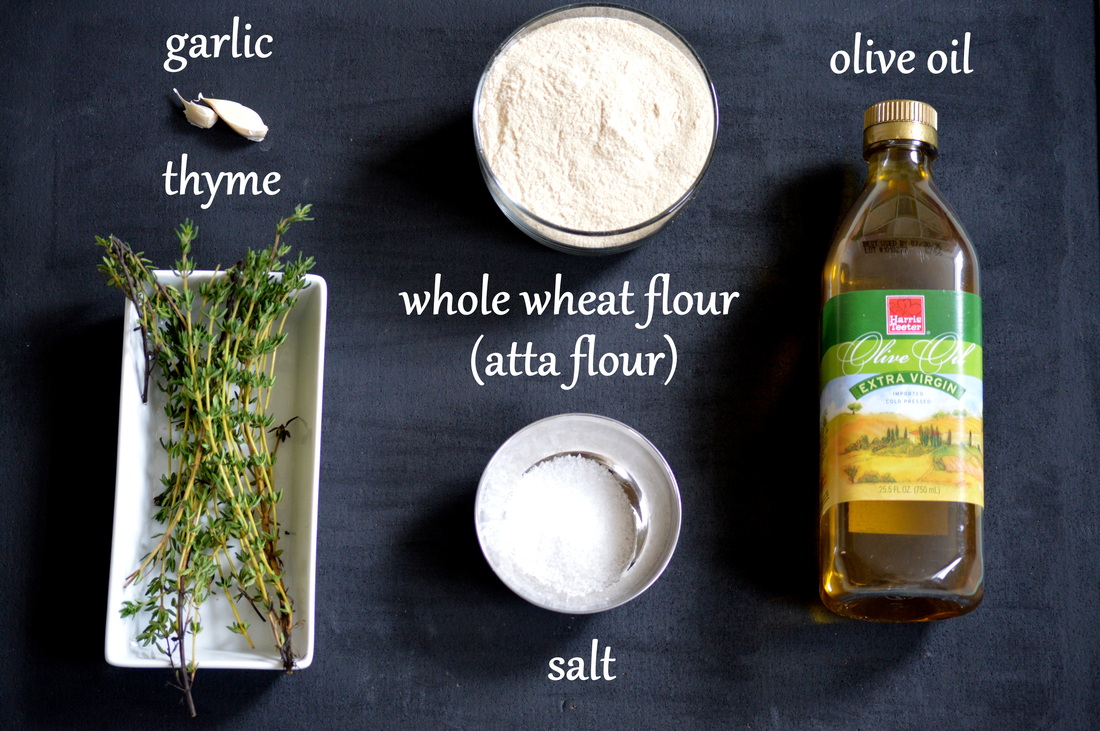
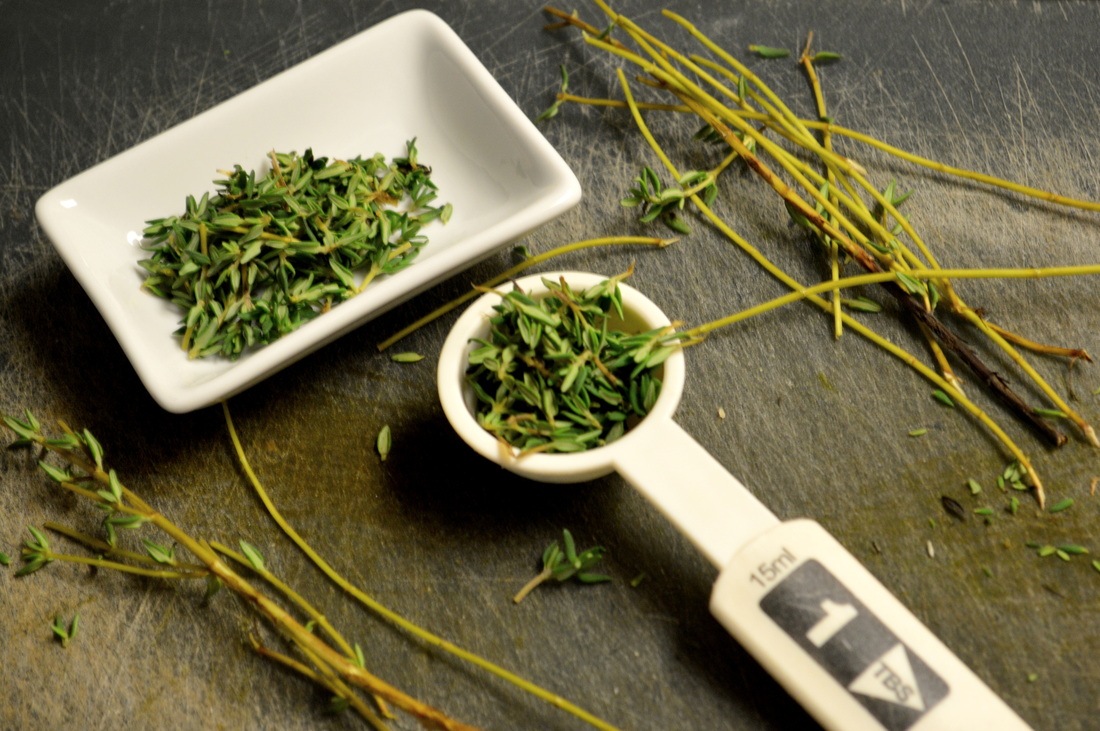
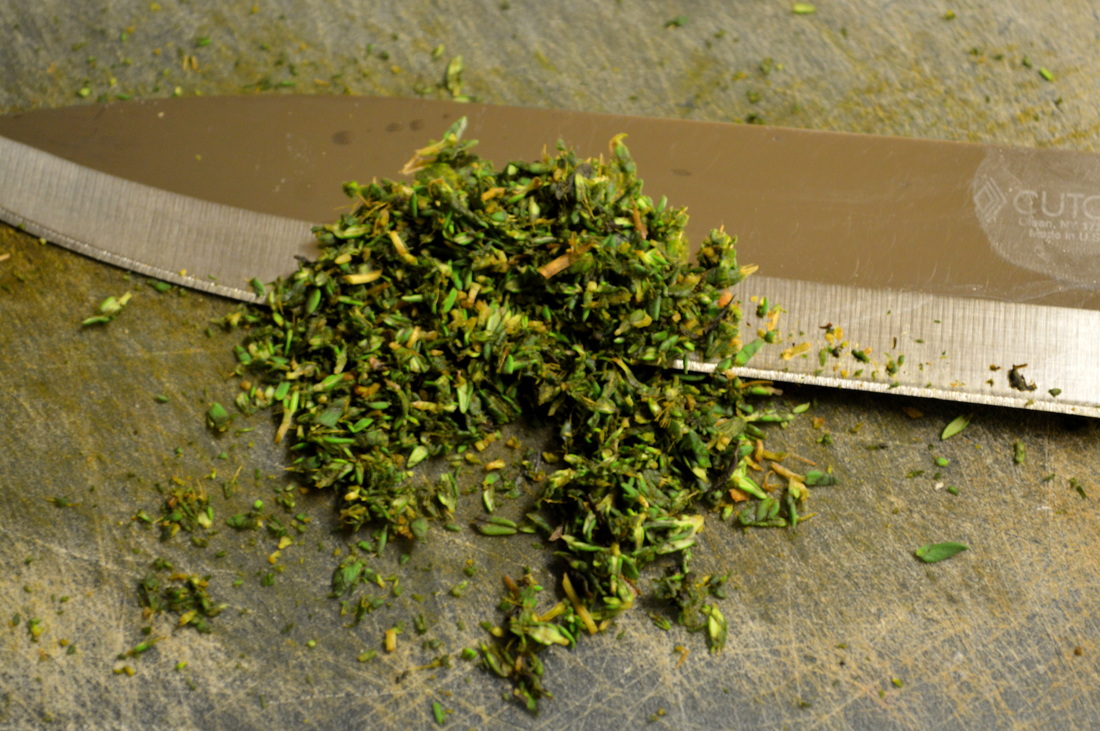
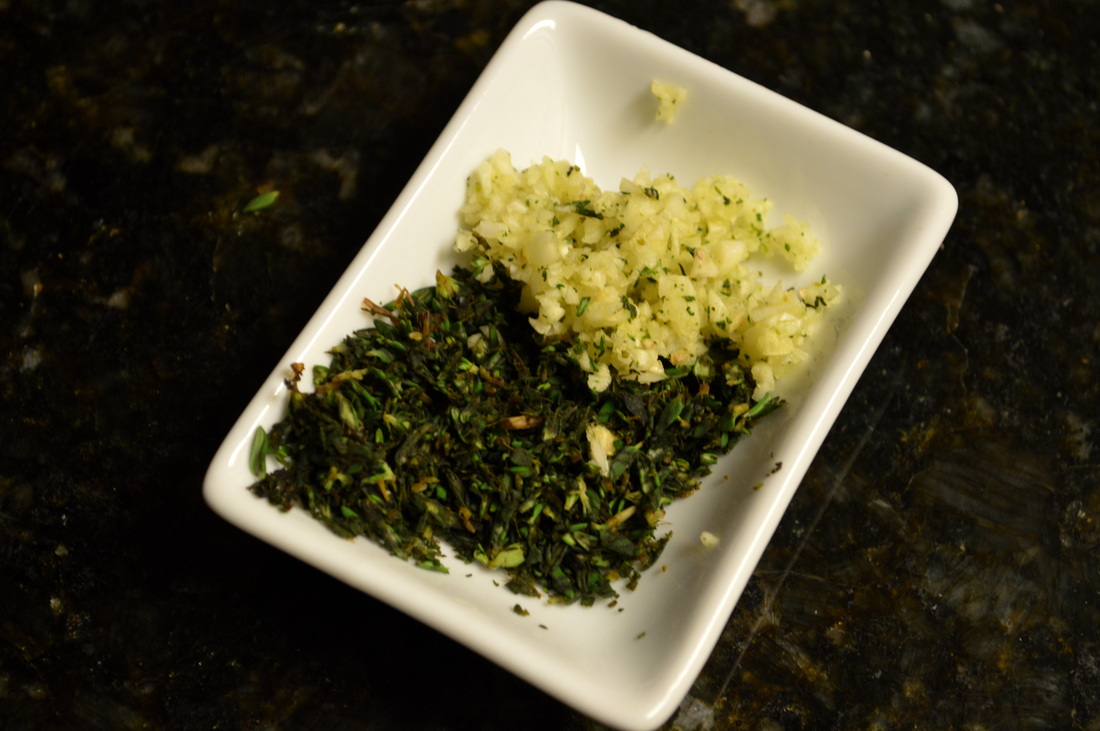
First, remove the leaves from a few springs of fresh thyme. It is perfectly fine if you pick off a few of the small branches; you only want to avoid the main, thick stem. Pick enough leaves off so that you have 2 tablespoons worth of leaves. Then chop these leaves as finely as possible. Then finely chop 2 cloves of garlic. Set aside.
 |  |
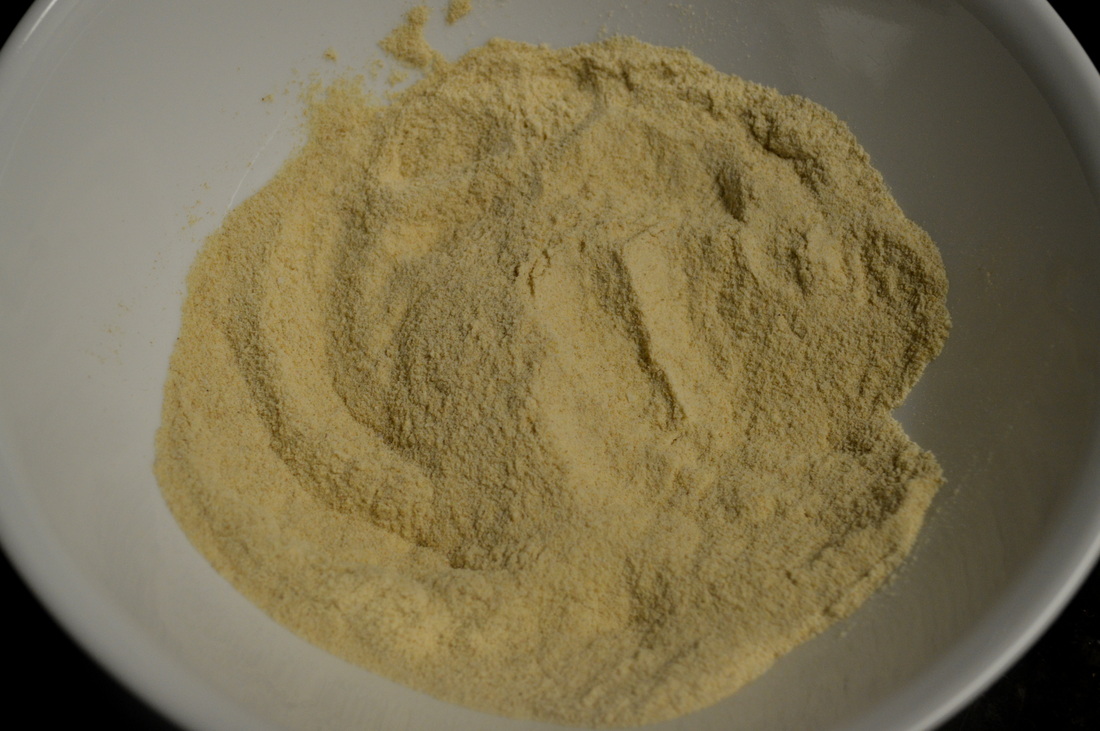
Now we turn to the atta flour. As a note, atta flour varies slightly from regular whole wheat flour. Atta is made from durum wheat and has a higher gluten content than regular wheat flour. This makes a difference in the elasticity of Indian breads and makes it easier to roll and stretch them out. You can use regular flour if you don't have access to atta flour, but I would recommend using atta flour if you can.
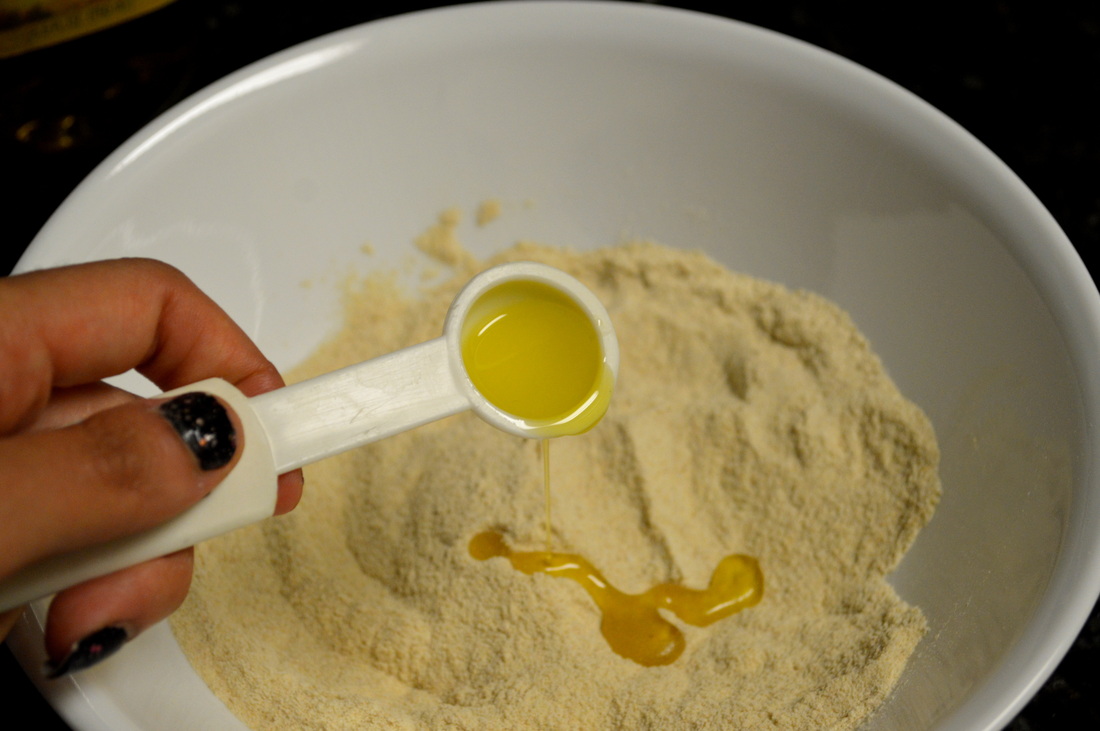
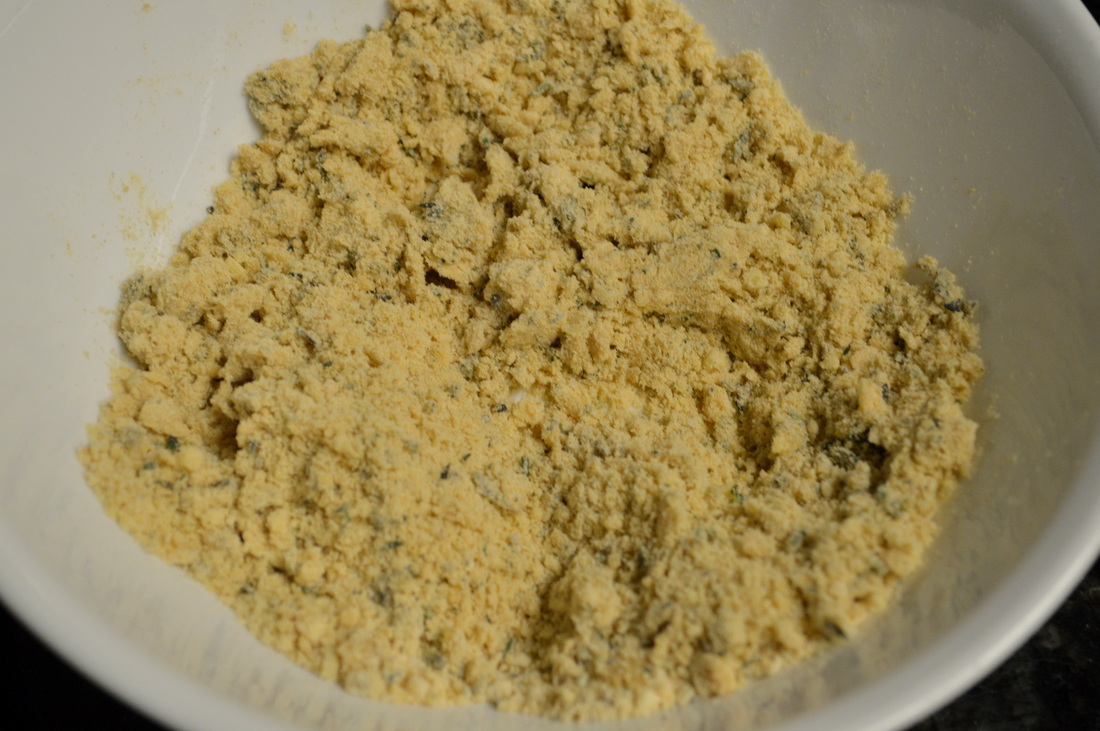
Combine the atta flour and salt in a bowl. Then add the thyme, garlic, 1 teaspoon of oil, and 2 tablespoons of water. Using your hand, combine all of these ingredients together.
Combine the atta flour and salt in a bowl. Then add the thyme, garlic, 1 teaspoon of oil, and 2 tablespoons of water. Using your hand, combine all of these ingredients together.
 |  |
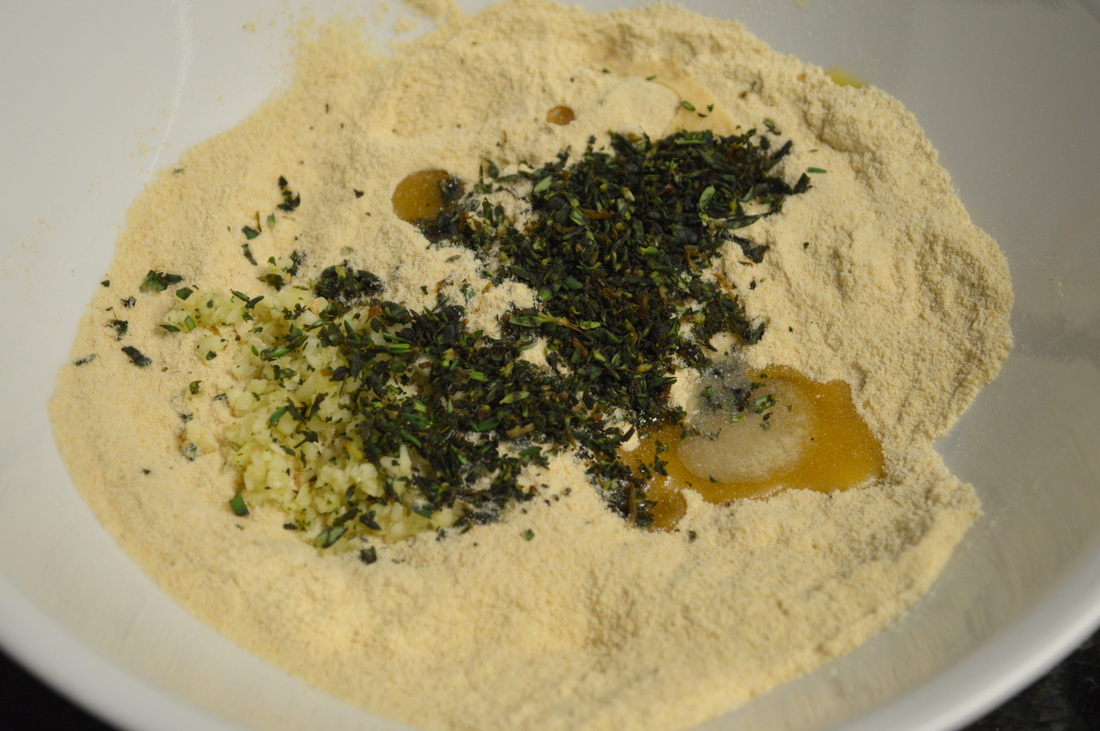 |  |
Use your hand(s) to really mash the ingredients together. Use your fist to try and squeeze all the ingredients together so that nothing is left in the base of the bowl.
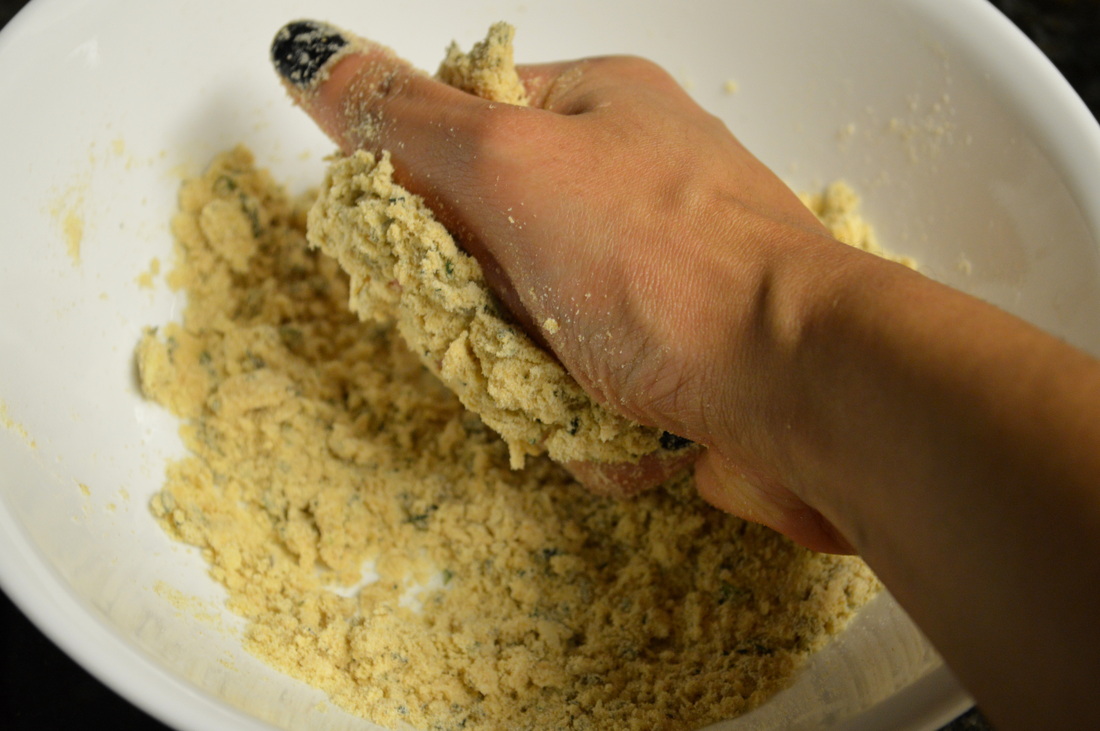

As this point, I could see and feel that my dough was dry. So, teaspoon by teaspoon, I added more water and a touch more oil. I ended up adding 3 more teaspoons of water (or 1 tablespoon), and another 1/4 teaspoon of oil. I continued kneading the dough with my fist. I even forcefully thew the ball of dough into the bowl roughly 10 times!
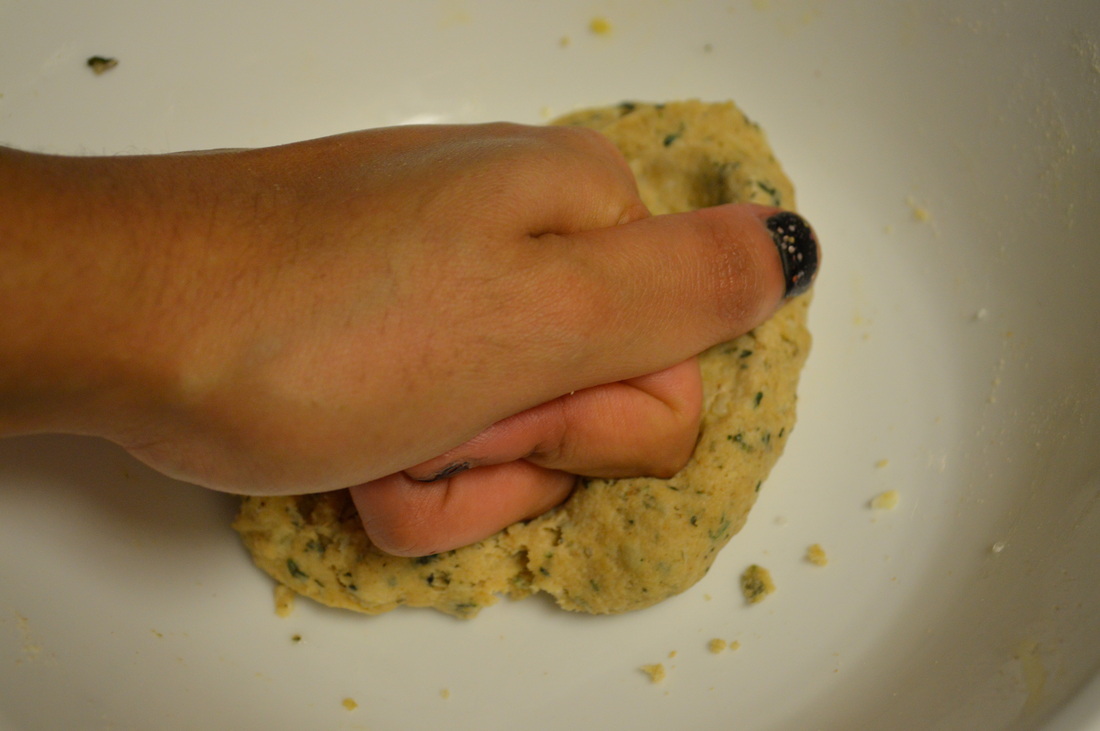
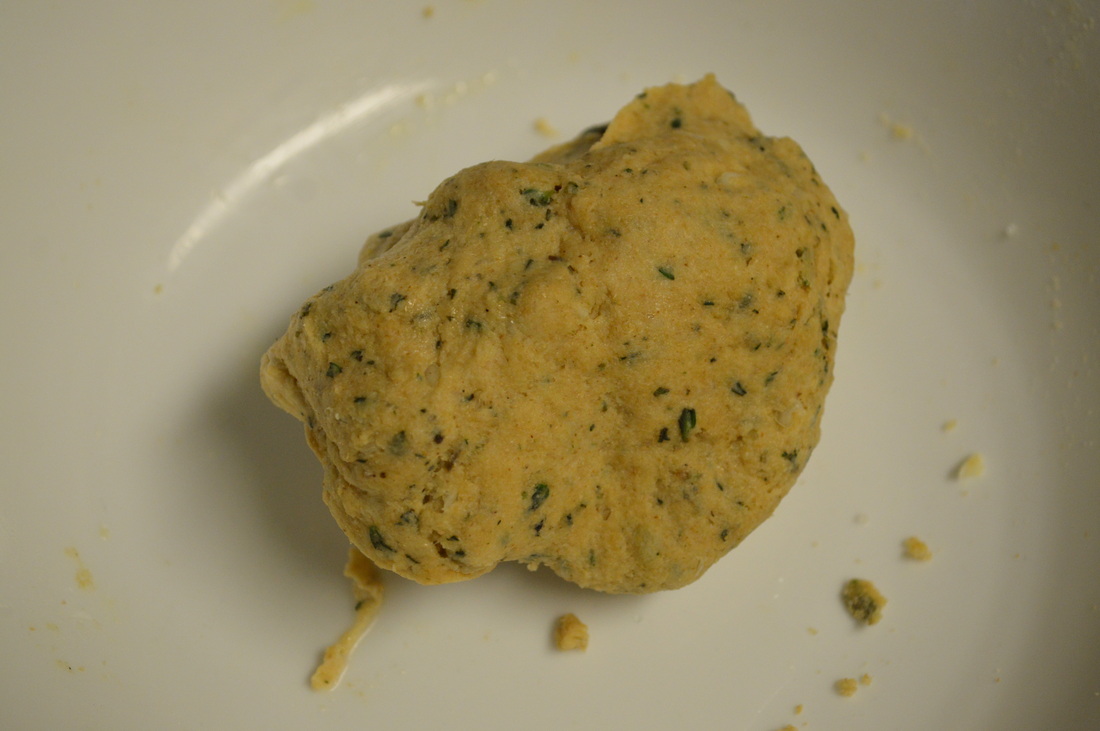
The dough should be soft and pliable--if you stick your finger in it, it should spring back slightly. It should neither be dry nor sticky. Once you have the dough, wrap it in a kitchen towel and let it sit covered for 20 minutes.
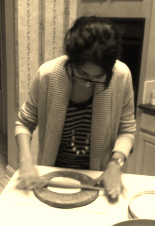
After 20 minutes have passed, prepare the area where you will roll out the parathas. You will need a rolling pin, rolling surface, a little bit of oil, and a little bit of atta flour. The extra flour is just for dusting the rolling surface. The extra oil is for making the layers of the parathas.
Break the dough into four equal parts. One by one, roll each piece into a ball. Dust the rolling surface with flour, and also dust each side of the dough ball with flour. Using the rolling pin, roll the ball into a circular shape with a roughly 4 inch diameter.
 |  |
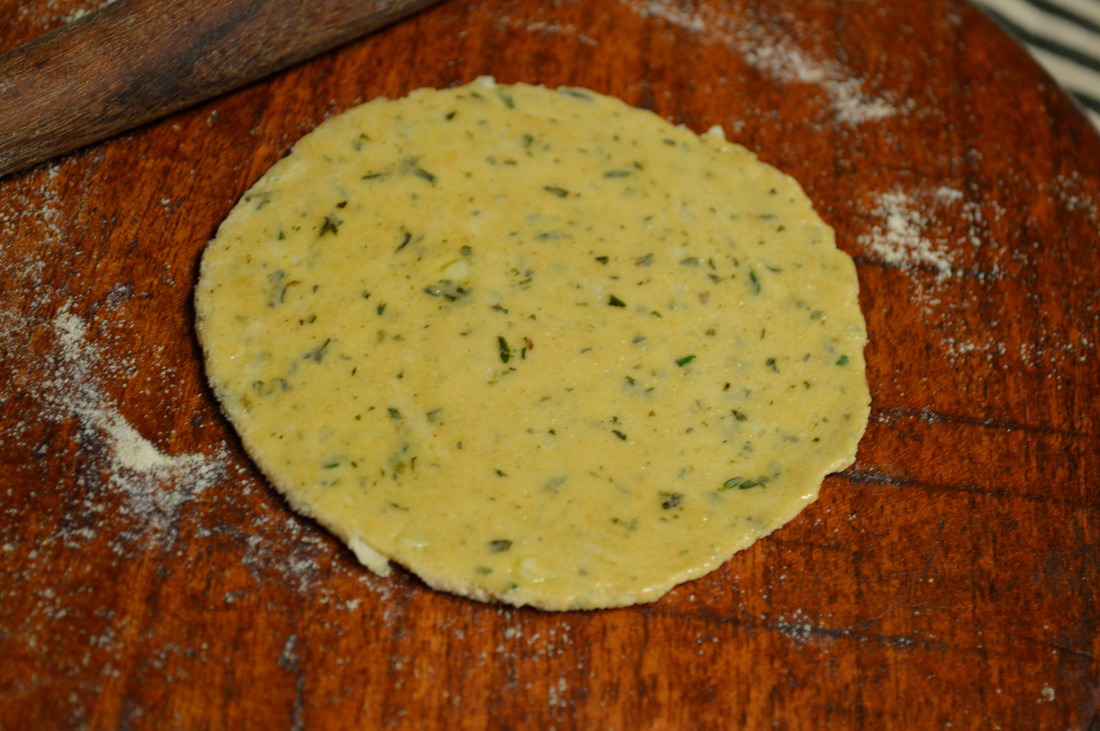
As you can see, my rolling skills are still at the beginner level. It is not easy to roll them into perfect circular shapes. But don't let that stop you from trying! The only way to get better at it is to practice. And even if they aren't perfectly shaped, they will still taste great! Look at the thyme and garlic in there--smells so good!
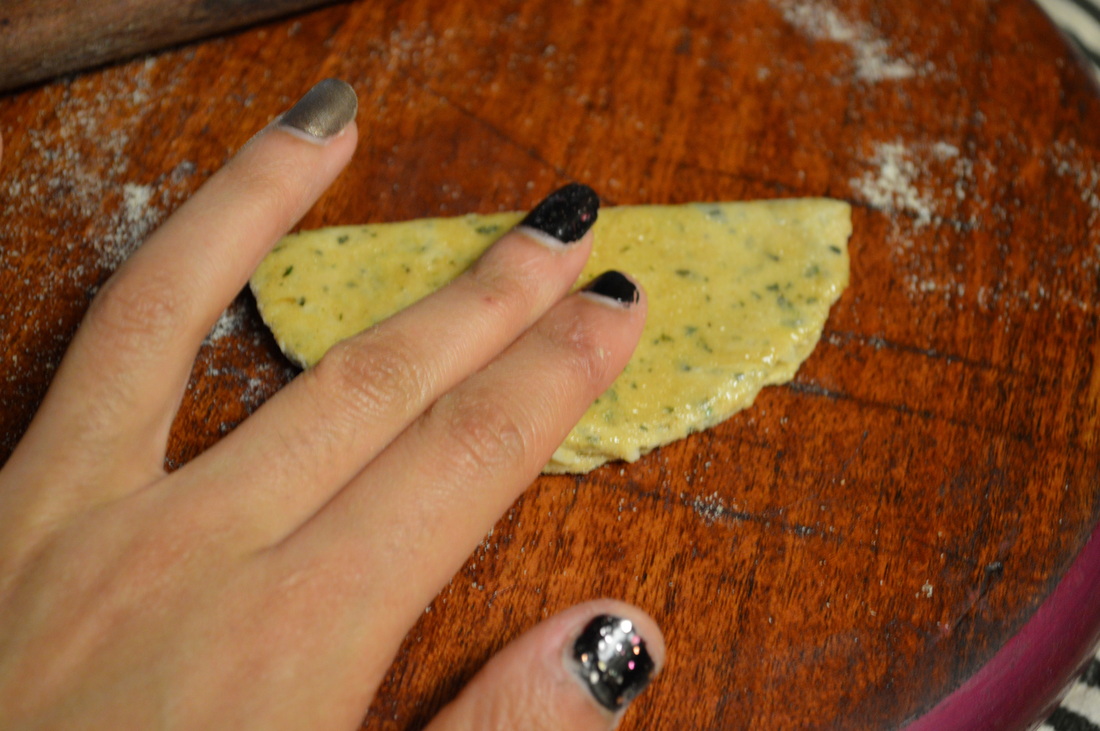
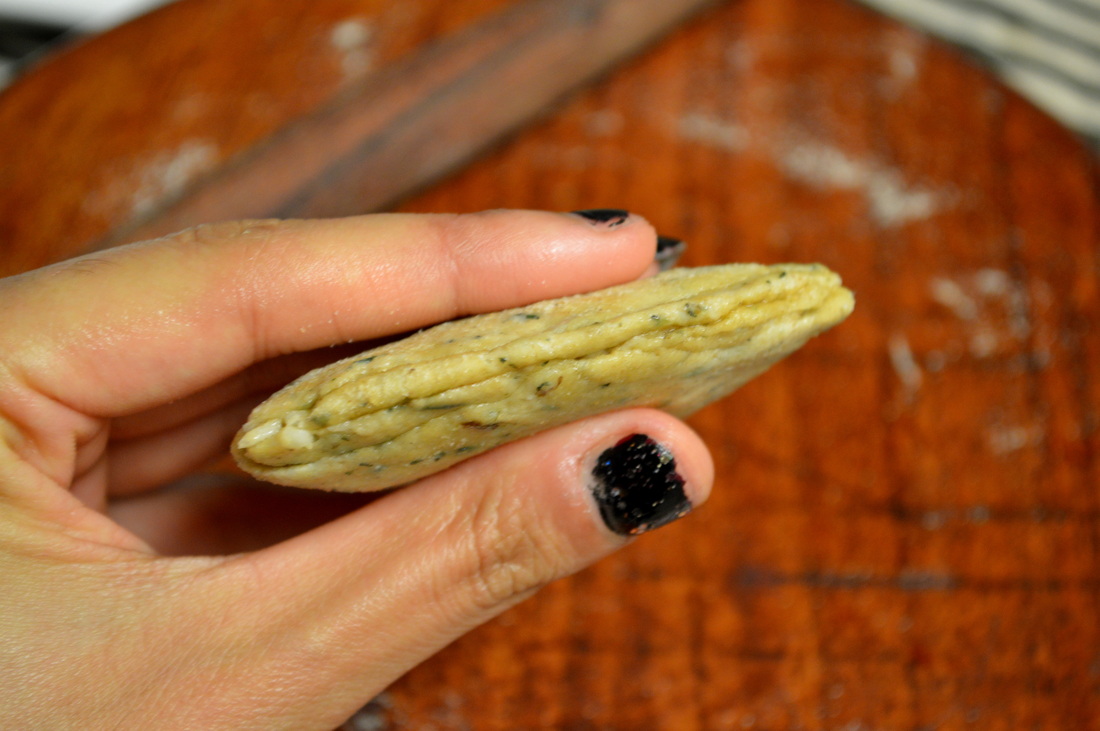
Take some oil (I used 1/4 teaspoon) and cover the surface of the circular shape with oil. Then fold the circular shape into a semi-circular shape, such that the oiled surface is no longer visible. Take a little more oil (I used 1/8 teaspoon) and cover the semi-circular shape. Then fold that so that you have a triangle shape. Pinch the folded sides of the triangle shape shut.
Take some oil (I used 1/4 teaspoon) and cover the surface of the circular shape with oil. Then fold the circular shape into a semi-circular shape, such that the oiled surface is no longer visible. Take a little more oil (I used 1/8 teaspoon) and cover the semi-circular shape. Then fold that so that you have a triangle shape. Pinch the folded sides of the triangle shape shut.
 |  |
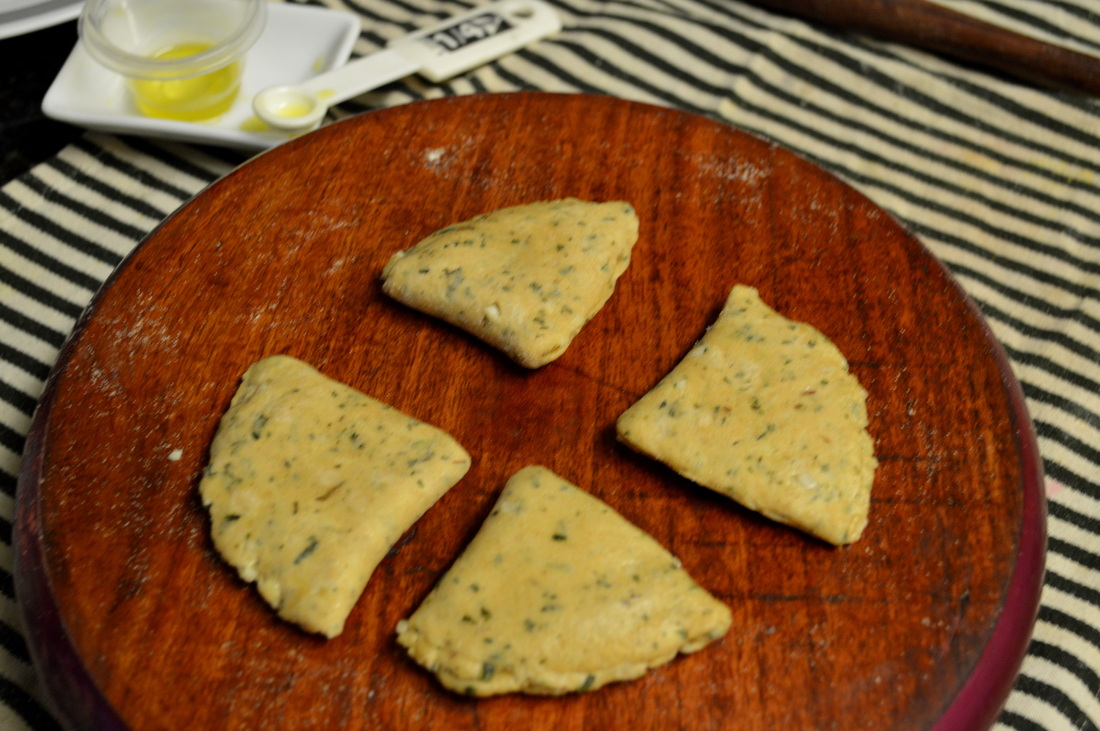 | 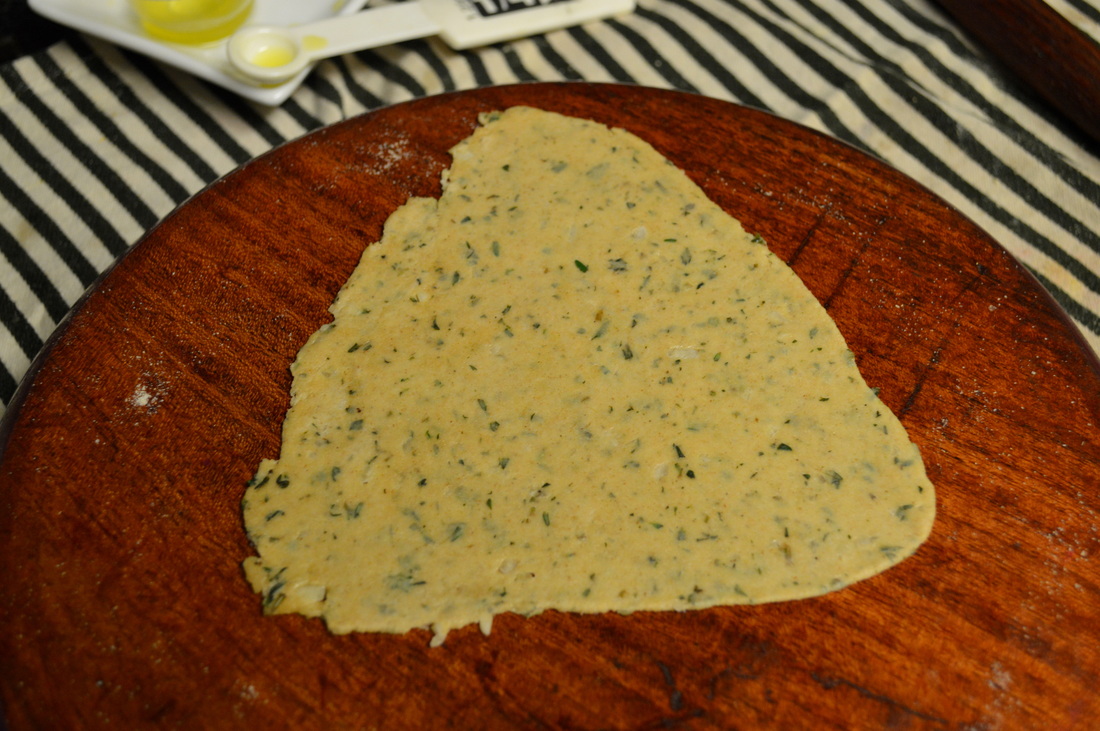 |
One at a time, roll out the triangular shapes so that they are thin and even. Again, my parathas do not have a perfect shape and definitely have jagged borders. This will only improve over time!
Heat a tava/skillet/griddle over medium-high heat. Once hot, add each paratha to the skillet.
Heat a tava/skillet/griddle over medium-high heat. Once hot, add each paratha to the skillet.
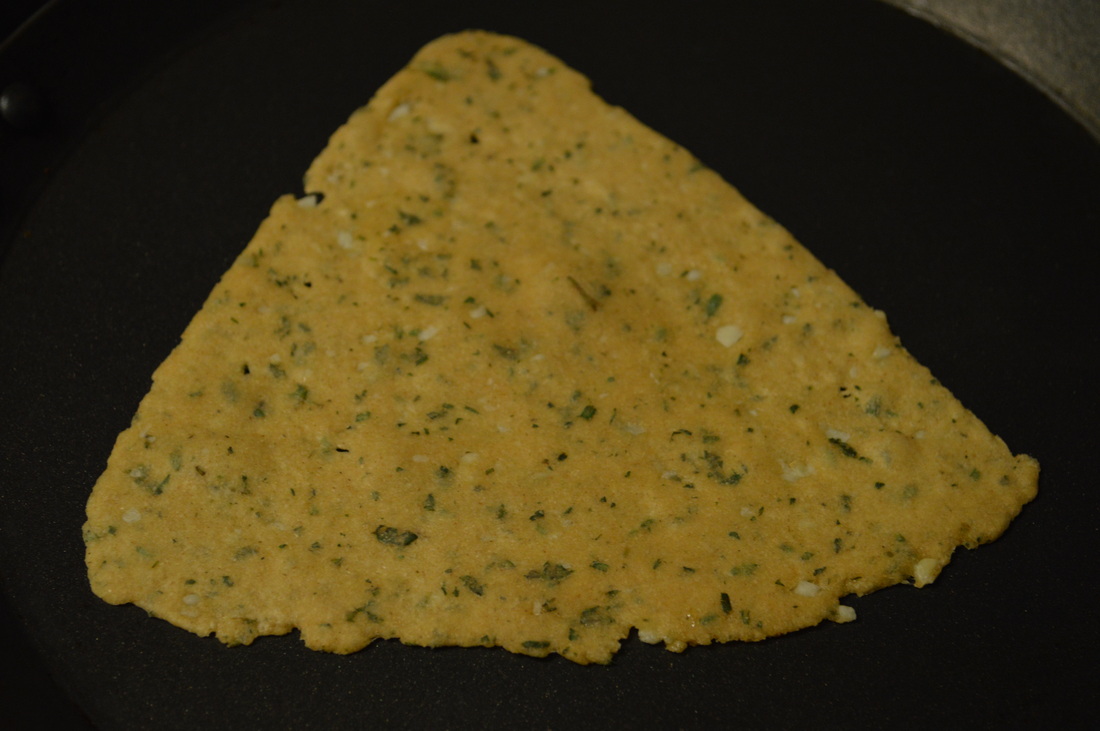
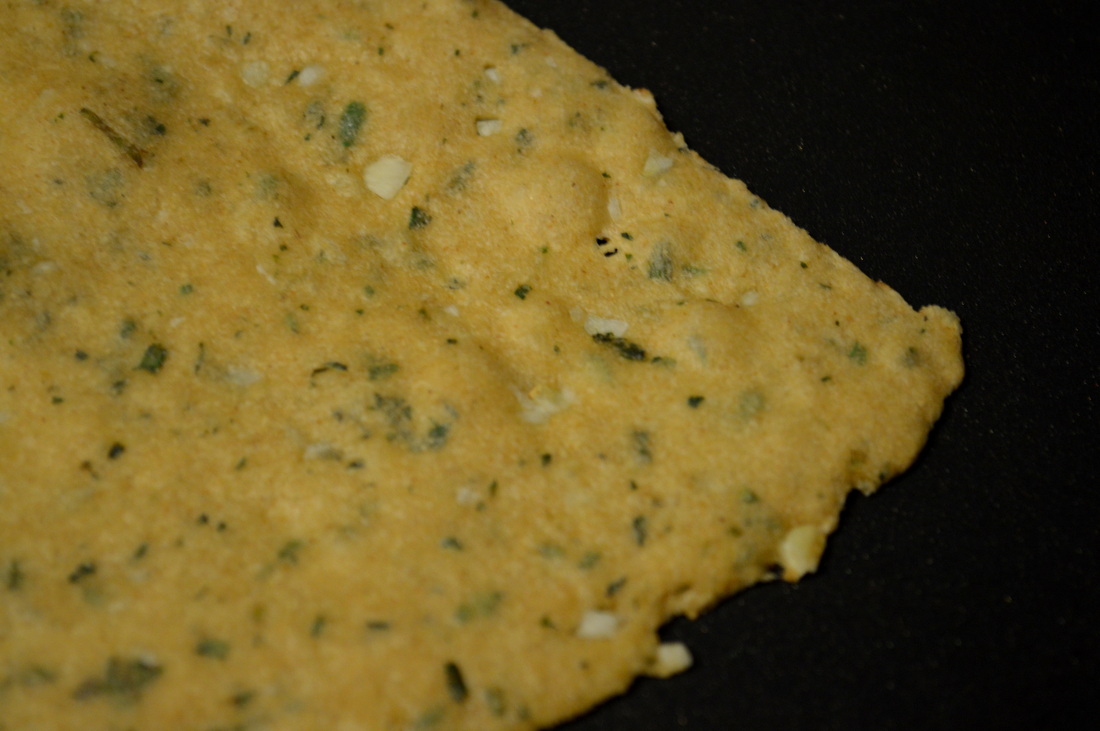
You will see the paratha start to change color and you will also see air bubbles start to form. Once you see a few air bubbles, flip the paratha over onto the other side. I cooked each paratha for approximately 2 minutes on each side.
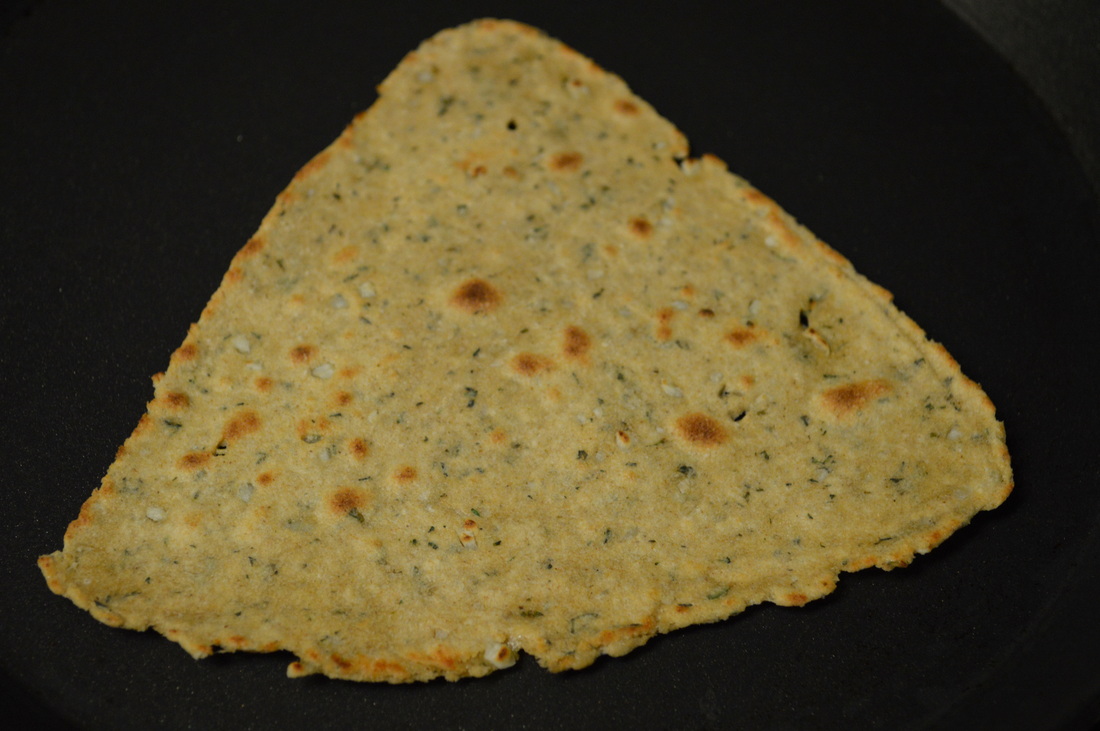
The parathas should be golden brown in color, with some brown spots. Be sure you don't overcook the parathas or they will become hard and crunchy. You want them to stay somewhat soft and pliable.
For comparison sake, I made a few parathas with regular whole wheat flour too. You can see the difference in the pictures below: the ones made with atta flour are more golden in color, whereas the regular flour is more of a brown color. The atta parathas were also easier to work with and more pliable once cooked. The regular flour parathas were a little bit harder after cooking. That being said, they both tasted great, so if you can't get atta flour, whole wheat flour can be used as a substitute.
For comparison sake, I made a few parathas with regular whole wheat flour too. You can see the difference in the pictures below: the ones made with atta flour are more golden in color, whereas the regular flour is more of a brown color. The atta parathas were also easier to work with and more pliable once cooked. The regular flour parathas were a little bit harder after cooking. That being said, they both tasted great, so if you can't get atta flour, whole wheat flour can be used as a substitute.
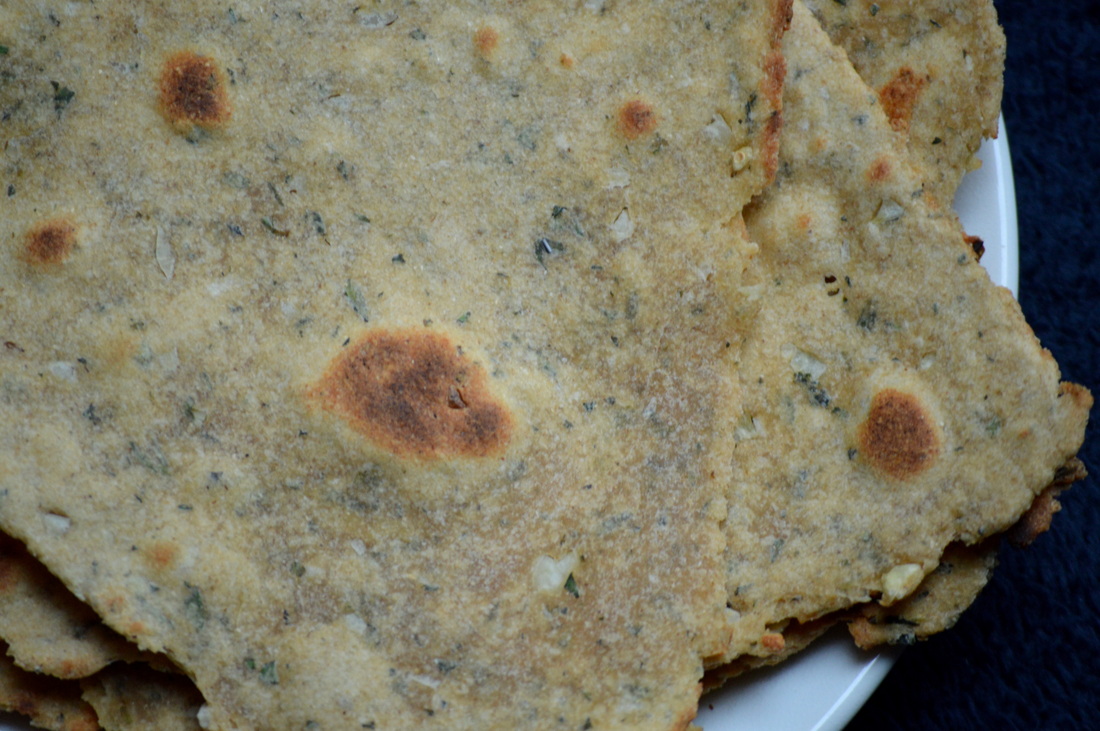 Parathas made with atta flour | 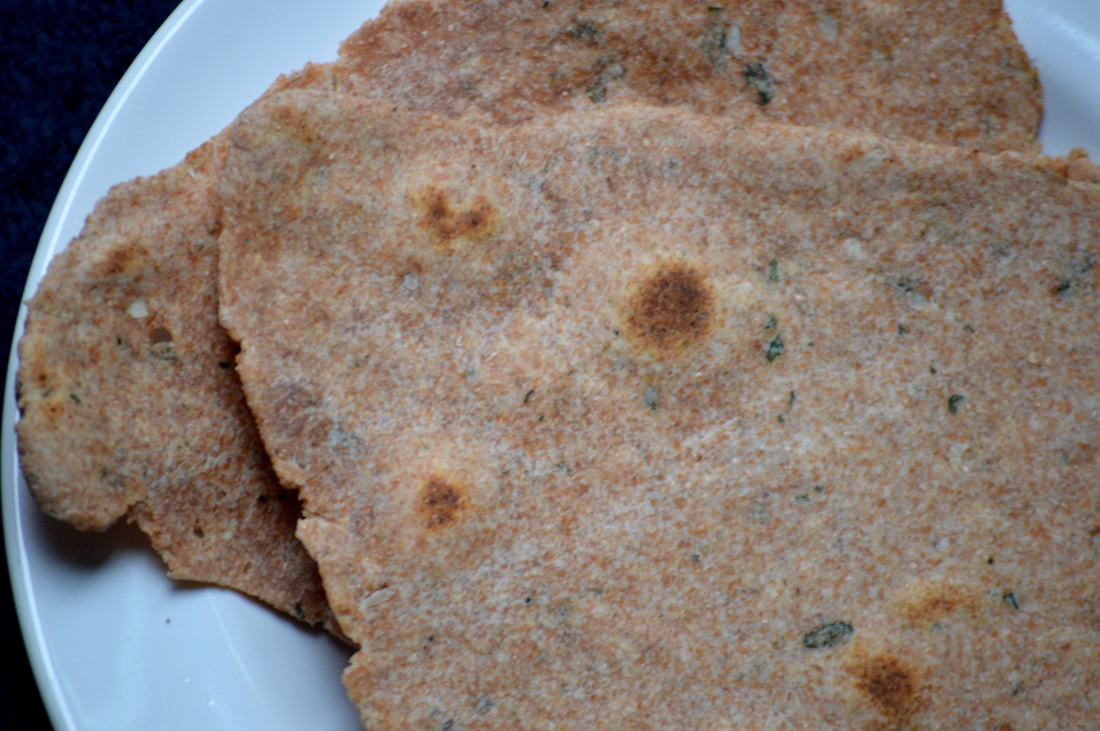 Parathas made with regular whole wheat flour |
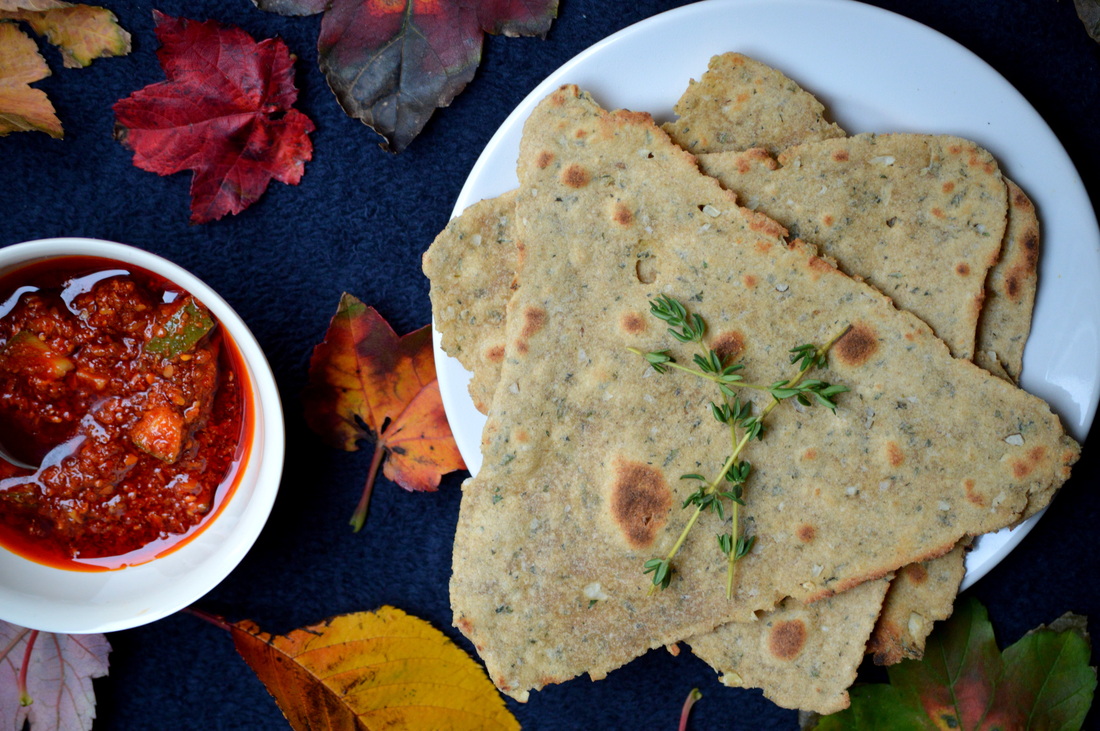
You can also add a little bit of oil or butter on your paratha as you serve them. I skipped this part and ate mine with some spicy pickled mango. I bet they would also taste great with my paalak "faux"-neer recipe (spinach tofu curry)!
Happy Fall and Happy Eating!
Happy Fall and Happy Eating!
Ingredients:
- 2 tbsps fresh thyme leaves
- 2 garlic cloves
- 1/2 cup whole wheat durum atta flour (or regular whole wheat flour), plus more for surface dusting
- 1/4 tsp salt
- 2 3/4 - 3 tsps olive oil
- 2-3 tbsps water
Recipe (makes 4):
- Pick 2 tablespoons worth of thyme leaves off the sprigs. Finely mince the thyme leaves. Finely mince the garlic and set aside.
- Combine the atta flour and salt. Add the thyme, garlic, 1 teaspoon of oil, and 2 tablespoons of water. Combine the ingredients with your hands to make the dough.
- If the dough appears dry, add another 1/4 teaspoon of oil and additional water, 1 teaspoon at a time (I added an additional 3 teaspoons). Combine the additional oil and water into the tough using your hands.
- Once the dough is soft and pliable (not dry/hard nor too sticky), knead it with your fists. You can also throw it from above into the bowl with force a few times. If you put your finger into the dough, the dough should spring back slightly.
- Cover the dough with a kitchen towel and set aside for 20 minutes.
- Prepare your work area by keeping 1 1/2 to 2 teaspoons oil and some flour for dusting the rolling surface and the balls of dough.
- Break the dough into four equal parts. One by one, roll each part into a ball and dust each ball with additional atta flour. Roll each ball out into a circular shape with a (roughly) 4-inch diameter.
- Spread 1/4 teaspoon of olive oil onto the surface of the circular shape. Then fold the shape into a semi-circle. Spread 1/8 teaspoon of olive oil onto the surface of the semi-circle shape. Fold again to make a triangle shape. Using your fingers, pinch the folded sides of the triangle.
- Roll the triangles out into a larger triangle which is even and thin.
- Heat the tava/skillet/griddle over medium-high heat. Once hot, add each paratha to the hot pan. The paratha will begin to change color and form air bubbles. Once you see this happen (approximately 2 minutes), flip the paratha to the other side. It will continue to cook (another 1 to 2 minutes) until it reaches a nice golden color with a few brown spots.
- Serve hot by themselves, with butter, with chutney, or with any Indian curry.
- Once cooled, they can be stored in an air-tight container at room temperature. You can also cover in foil and keep in a plastic bag in the freezer.
 RSS Feed
