
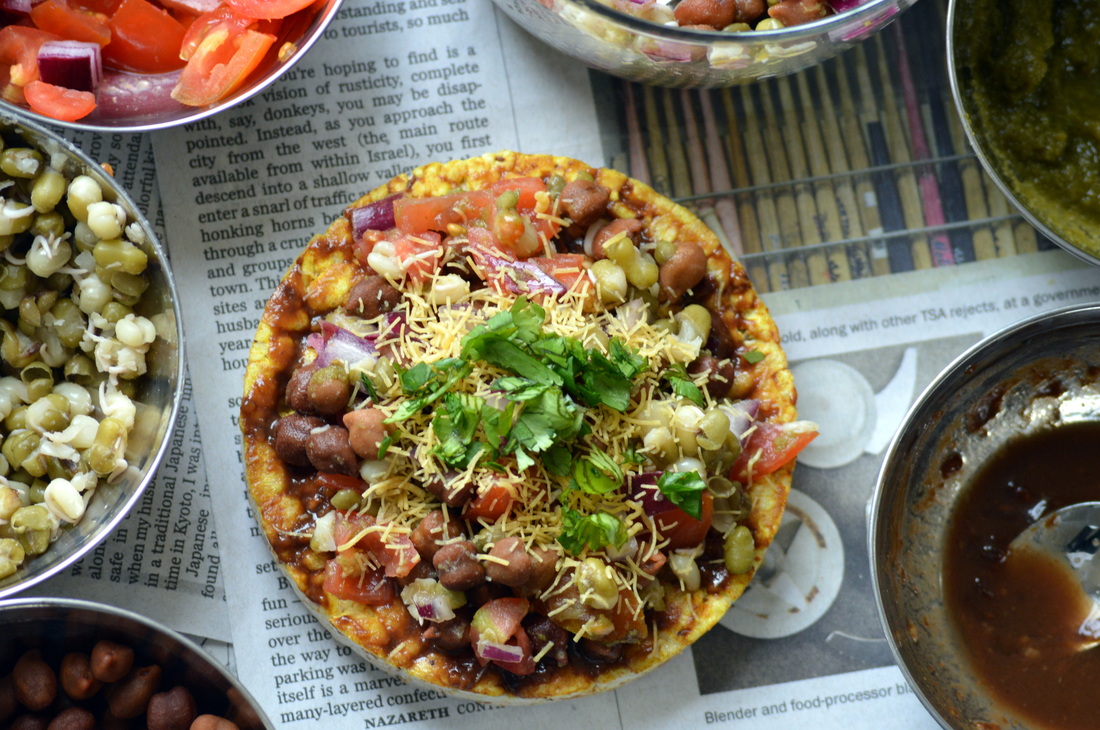
One of my husband's favorite Indian snacks is bhelpuri: a type of chaat, or savory snack, consisting of some combination of puffed rice, thin fried chickpea flour noodles, potatoes, onions, and chutneys. Bhelpuri is thought to have originated in either the Indian states of Gujarat or Maharastra--which makes it a big winner in this Gujarati-Maharastrian household! When I think of bhelpuri, I imagine it being served out of a newspaper cone from a food stall in India.
I've known about my husband's love of bhelpuri since before we were even dating; when we went to the local garba during Navratri, he would eagerly look forward to eating bhel after many, many rounds of raas. I quickly learned that bhelpuri is one of my husband's favorite foods to eat in my mother-in-law's kitchen. I knew I had to learn how to make this at home!
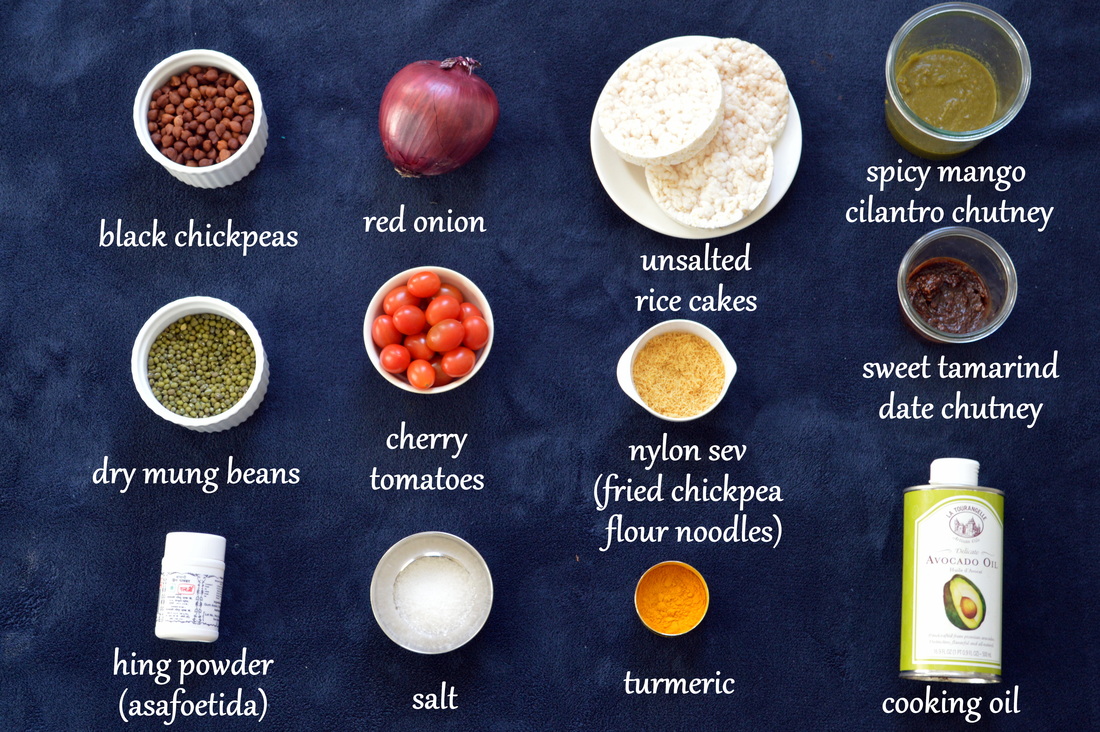
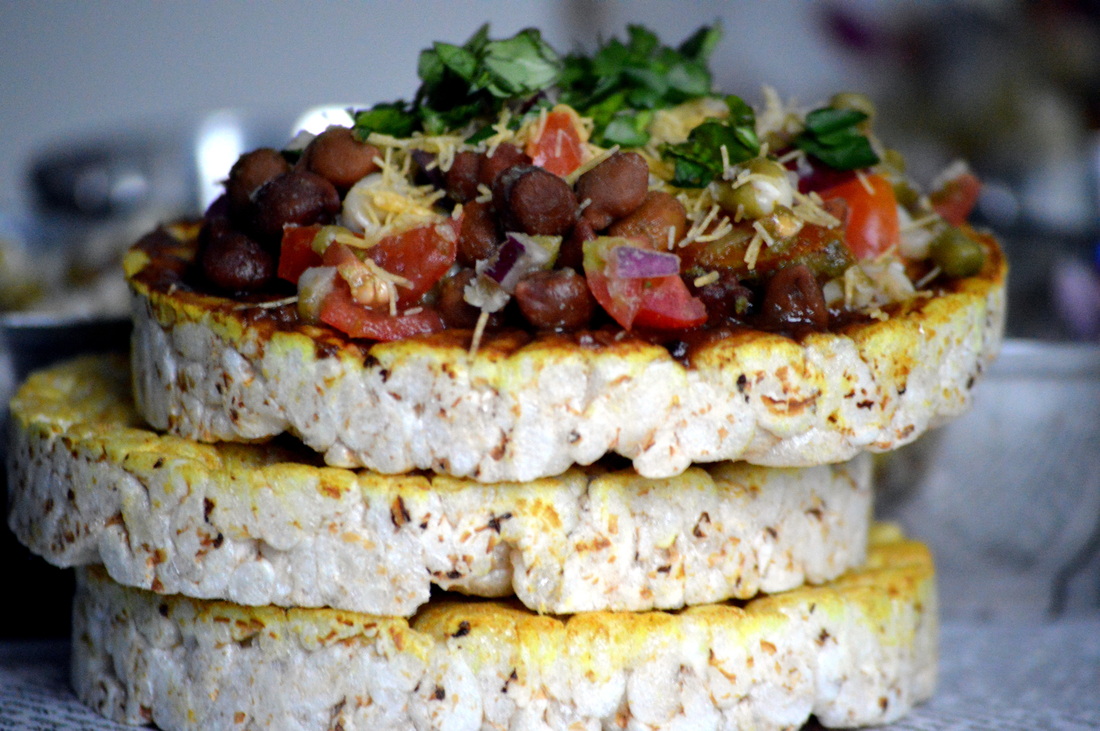
My mother-in-law already makes her bhelpuri very healthy by adding kala chana (black chickpeas) and sprouted mung beans. As my husband and I are still detoxing from the holidays, I took it a step further by removing the potatoes and papdi (fried pieces of dough), and adding fresh tomatoes. I also used unsalted rice cakes instead of loose puffed rice for two reasons: (1) they are easily available at my local grocery store, (2) I don't have a huge bag of loose puffed rice sitting in my cupboard afterward, and (3) they look so cute! Can you imagine serving a whole tray of these to guests?!
My mother-in-law already makes her bhelpuri very healthy by adding kala chana (black chickpeas) and sprouted mung beans. As my husband and I are still detoxing from the holidays, I took it a step further by removing the potatoes and papdi (fried pieces of dough), and adding fresh tomatoes. I also used unsalted rice cakes instead of loose puffed rice for two reasons: (1) they are easily available at my local grocery store, (2) I don't have a huge bag of loose puffed rice sitting in my cupboard afterward, and (3) they look so cute! Can you imagine serving a whole tray of these to guests?!
The first step--which is optional--and which is the only step you need to do in advance is sprouting the dried mung beans. If this process is too much for you, or you don't plan far enough in advance, you can substitute with a peeled, boiled, and diced potato.
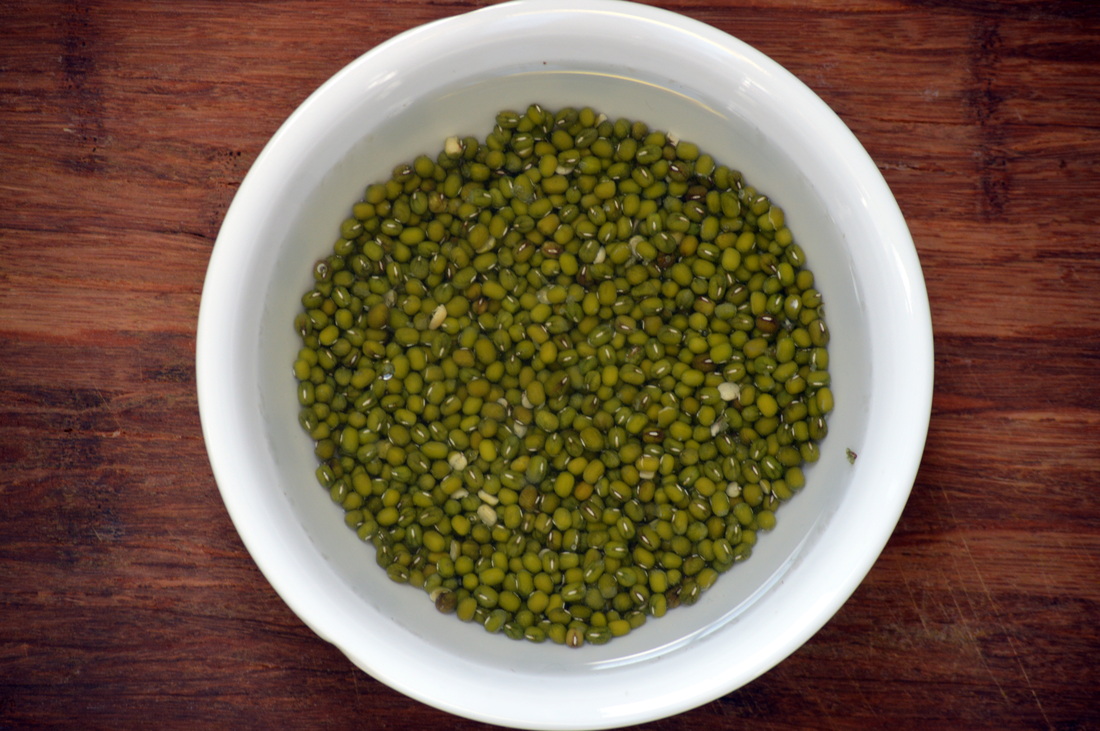
If you do opt to use mung beans then start by soaking the dried mung beans in water overnight, or for 8 to 12 hours. Use twice the amount of water as dried beans; for example, if you use 1/2 a cup of mung beans, soak it in 1 cup of water.
If you do opt to use mung beans then start by soaking the dried mung beans in water overnight, or for 8 to 12 hours. Use twice the amount of water as dried beans; for example, if you use 1/2 a cup of mung beans, soak it in 1 cup of water.
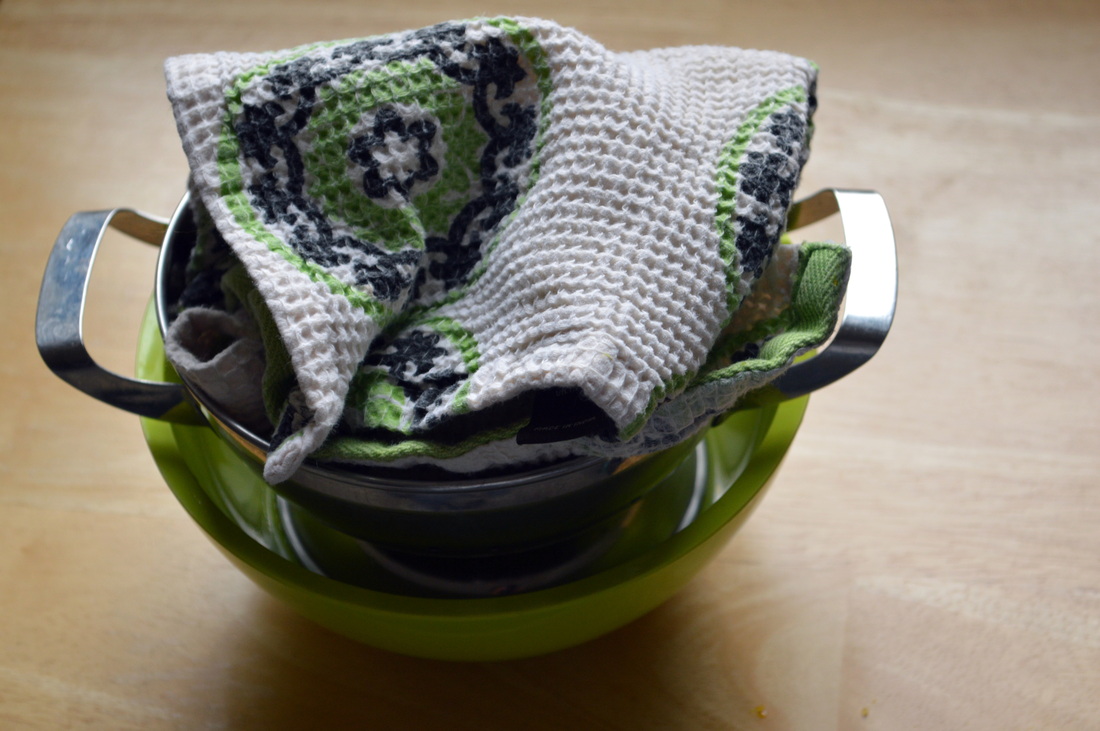
After soaking the beans, drain them of their water and place them in a clean kitchen towel. Close the towel up and place it in a colander; then place the colander in a small bowl to catch any water which may drip out. Place the towel/colander/bowl in a dark place in the kitchen--I put mine in the oven (I did not turn the oven on) for 1 to 2 days.
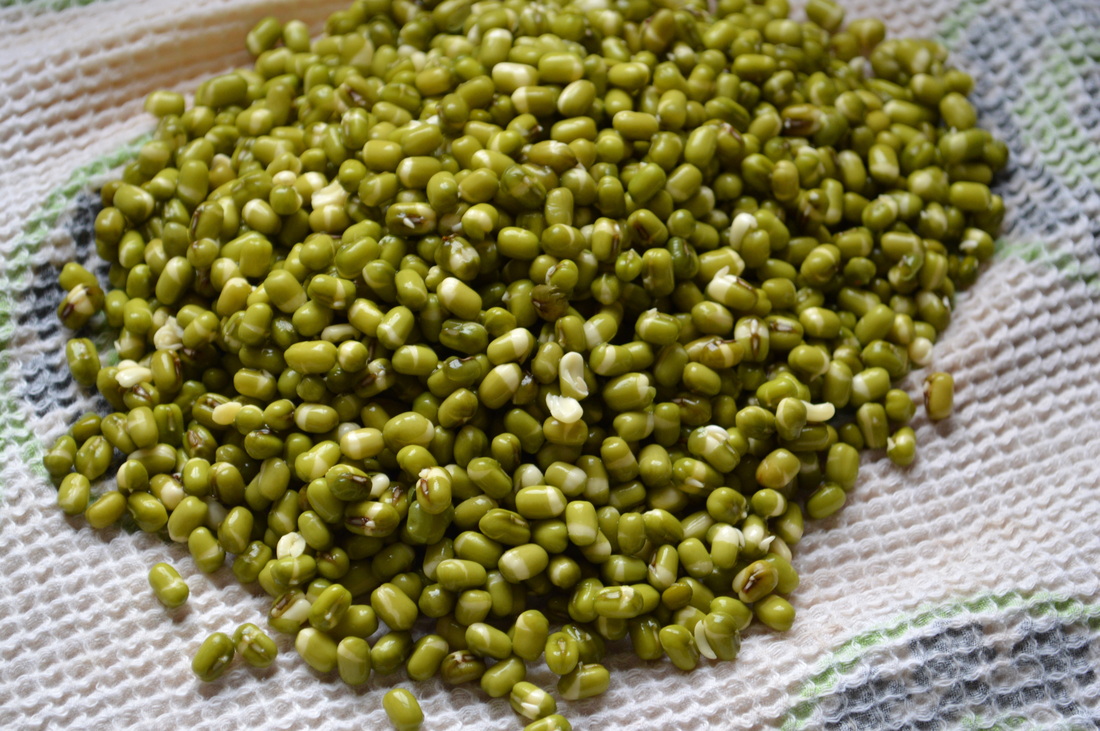 |  |
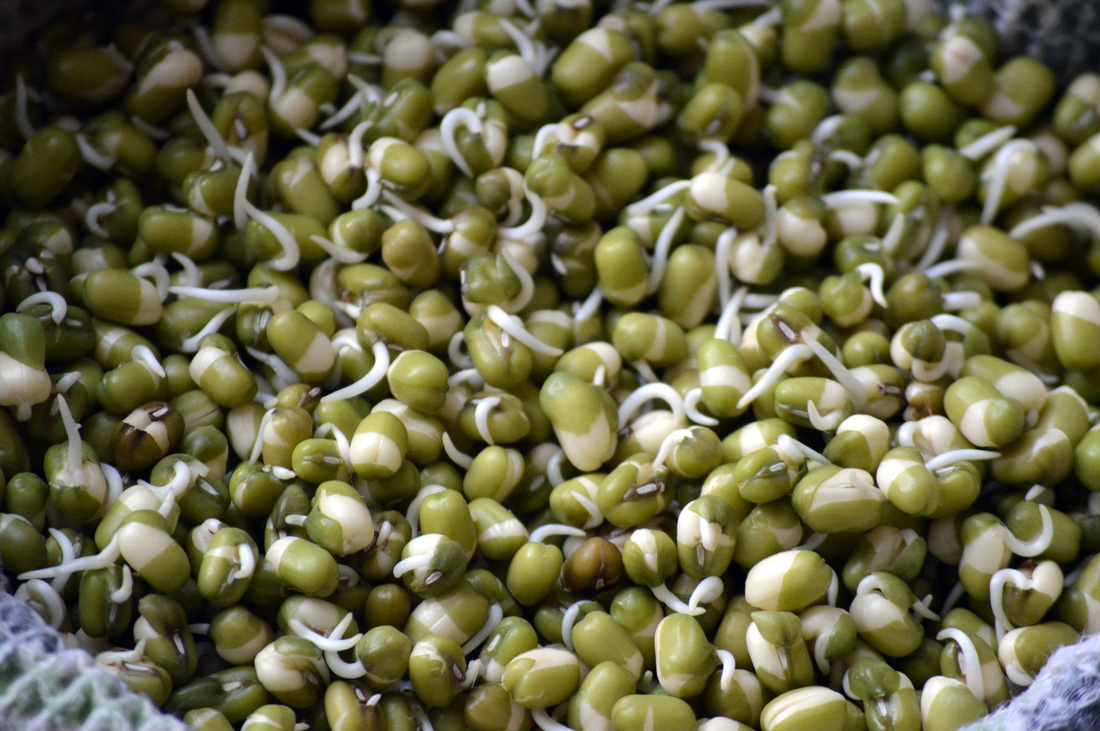
After 24 hours, your mung beans should have sprouted! You can leave them for another day if you want the sprouts to grow longer, but it is not necessary. Crazy how these dried beans just "sprouted" to life! You can keep these in an air-tight container in the fridge for 1 to 2 days.
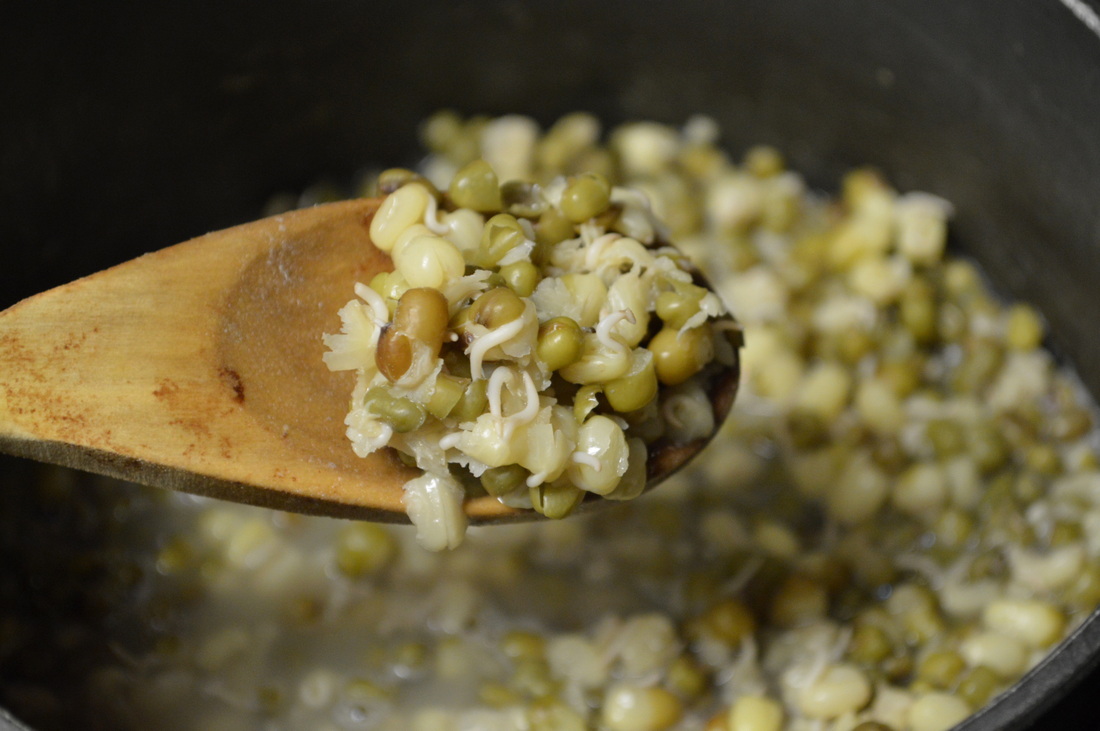
To use the mung beans for bhel, place them in a pot with water and boil for 20 to 25 minutes. When they are ready, you will see that the green skins have started to come of and they have softened and puffed up. Drain them from the water and set aside to cool.
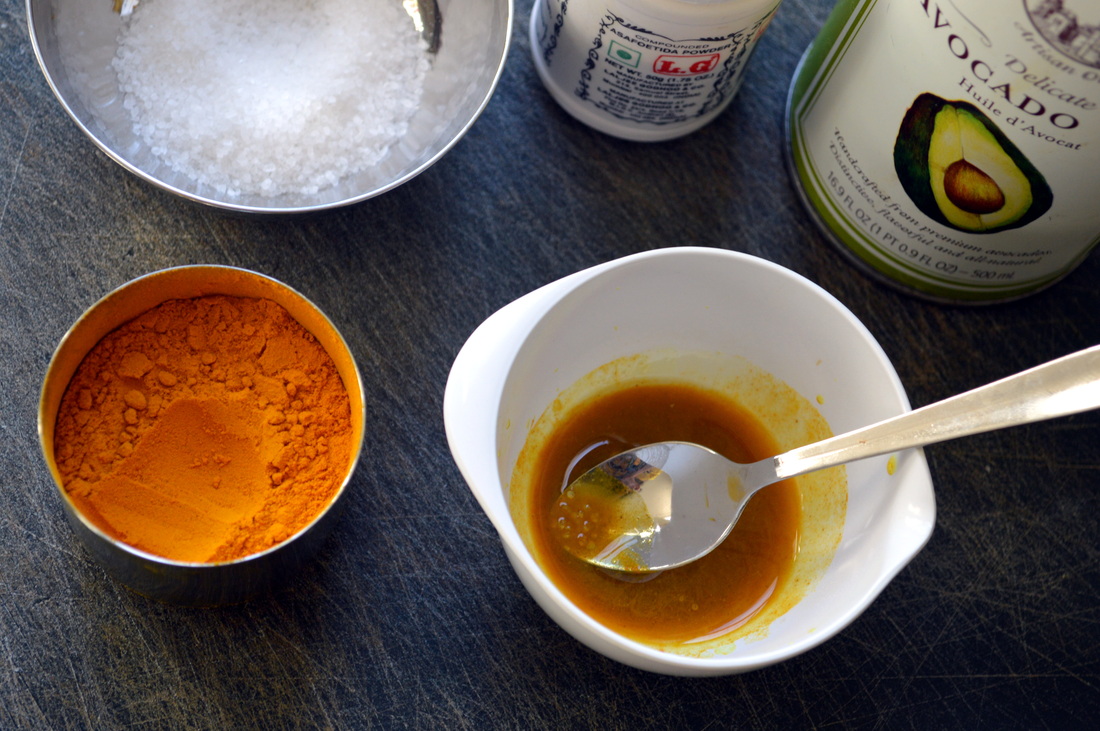
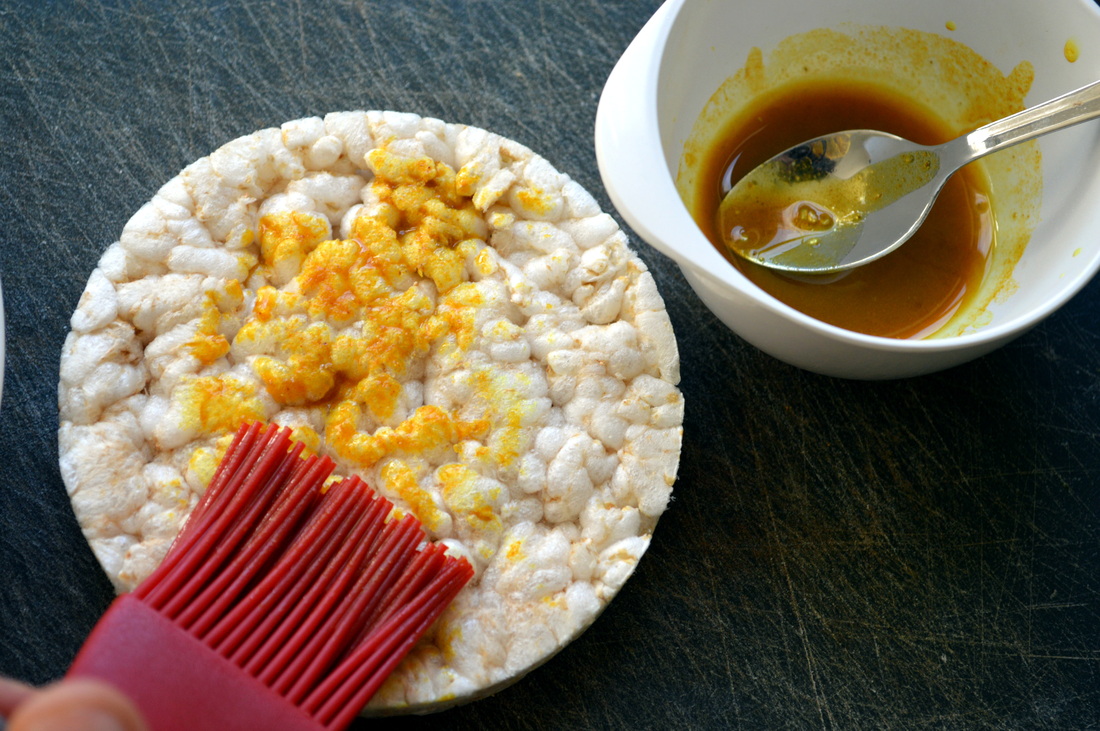
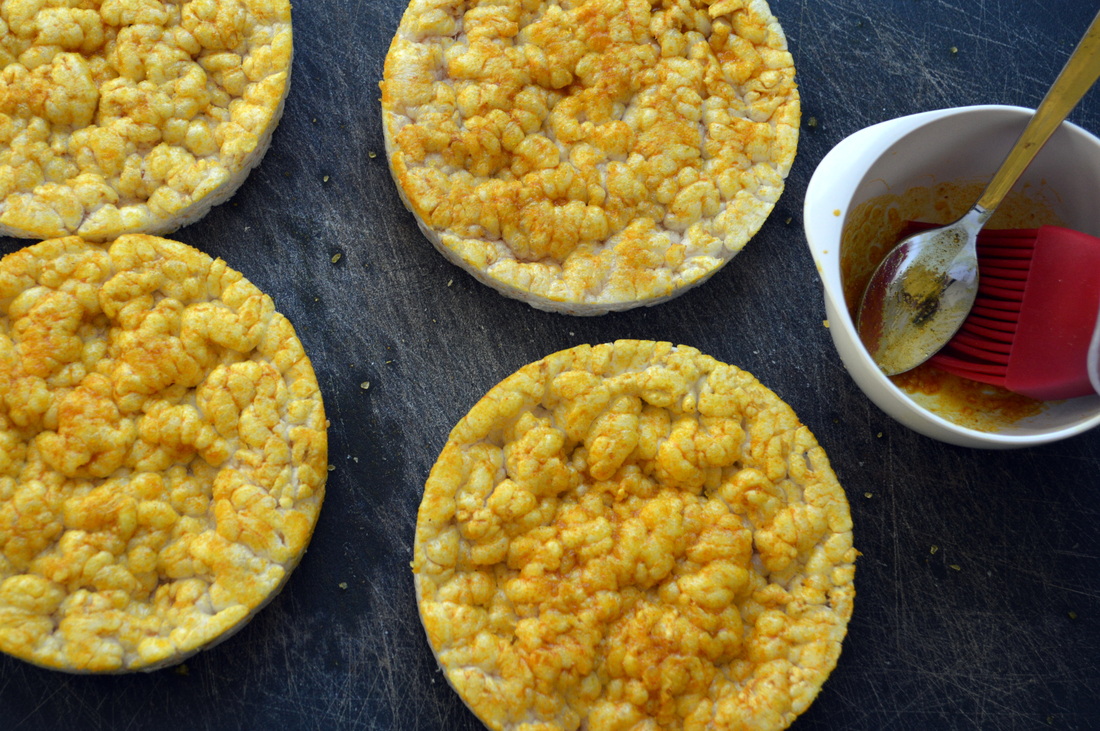
To prepare the rice cakes, preheat the oven to 350 degrees. Combine the oil, turmeric, and hing powder (optional) together. Spread the mixture onto the top of each rice cake using a pastry brush or paper towel. Sprinkle salt on each rice cake.
 |  |
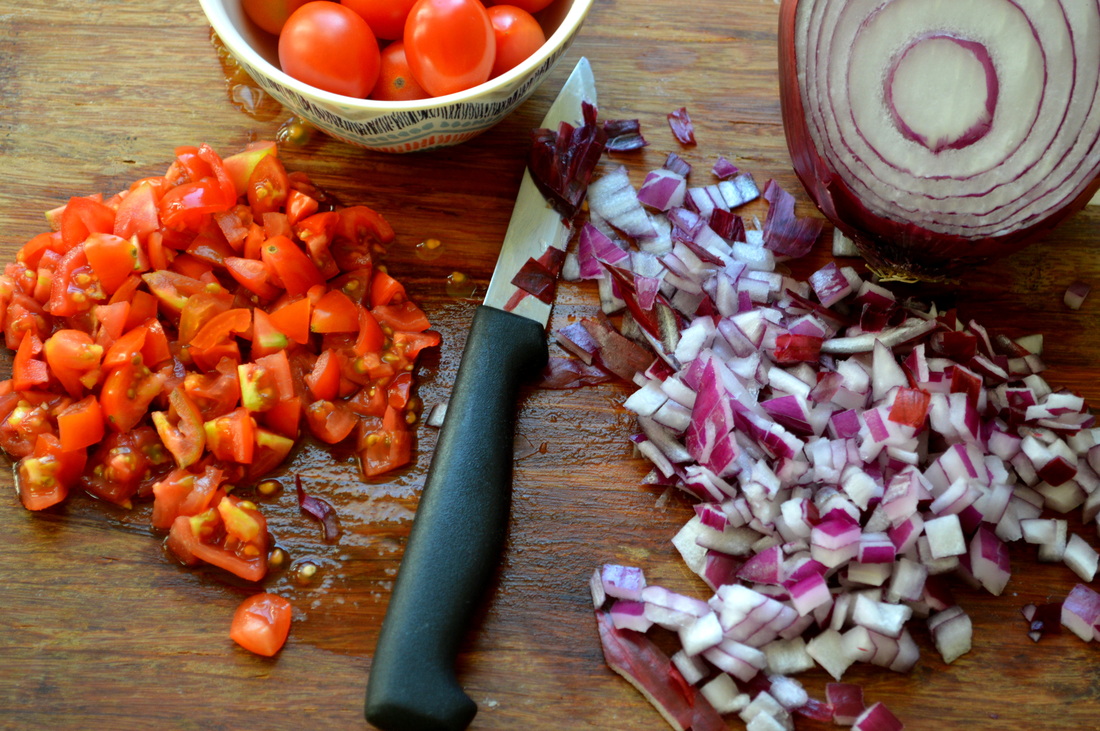
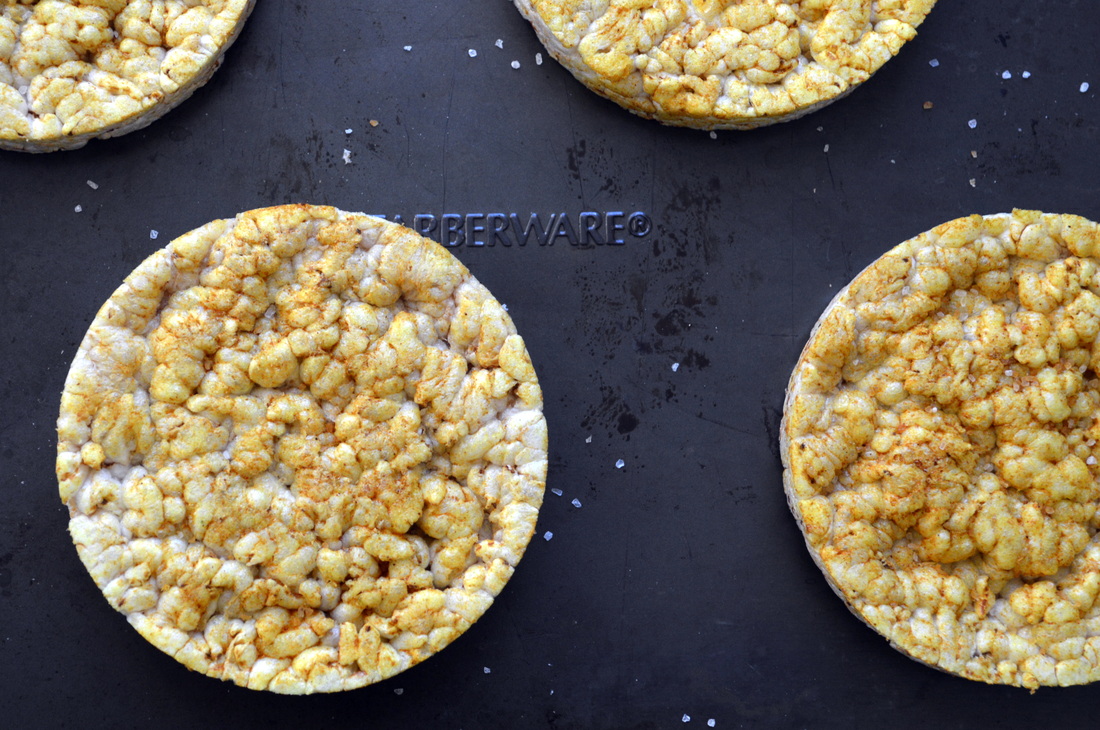
Put the prepared rice cakes in the oven for 10 to 15 minutes until slightly crisp; you will be able to smell them baking. Meanwhile, chop the tomatoes and onions. If you are using canned chickpeas, this is a good time to drain and rinse them. As a note, if you don't know how to cook chickpeas in a slow cooker, please see my recent post about it--using dried black chickpeas tastes so much better than anything canned!
Once the rice cakes are done crisping, pull them out of the oven and let them cool.
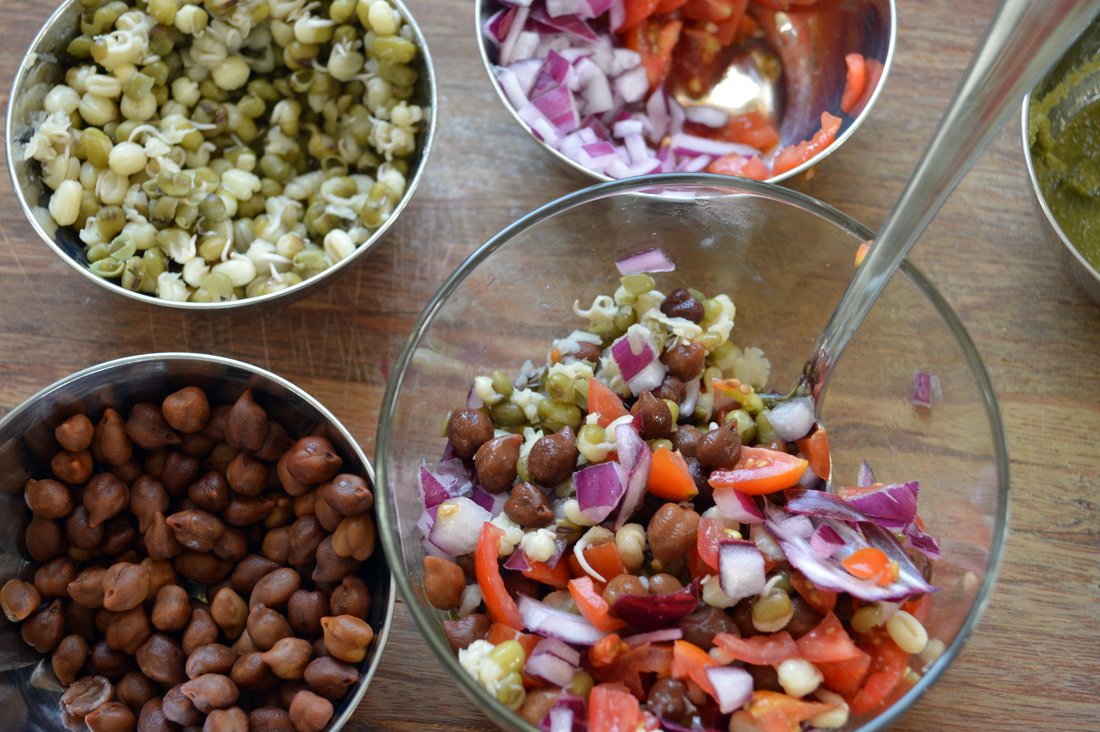
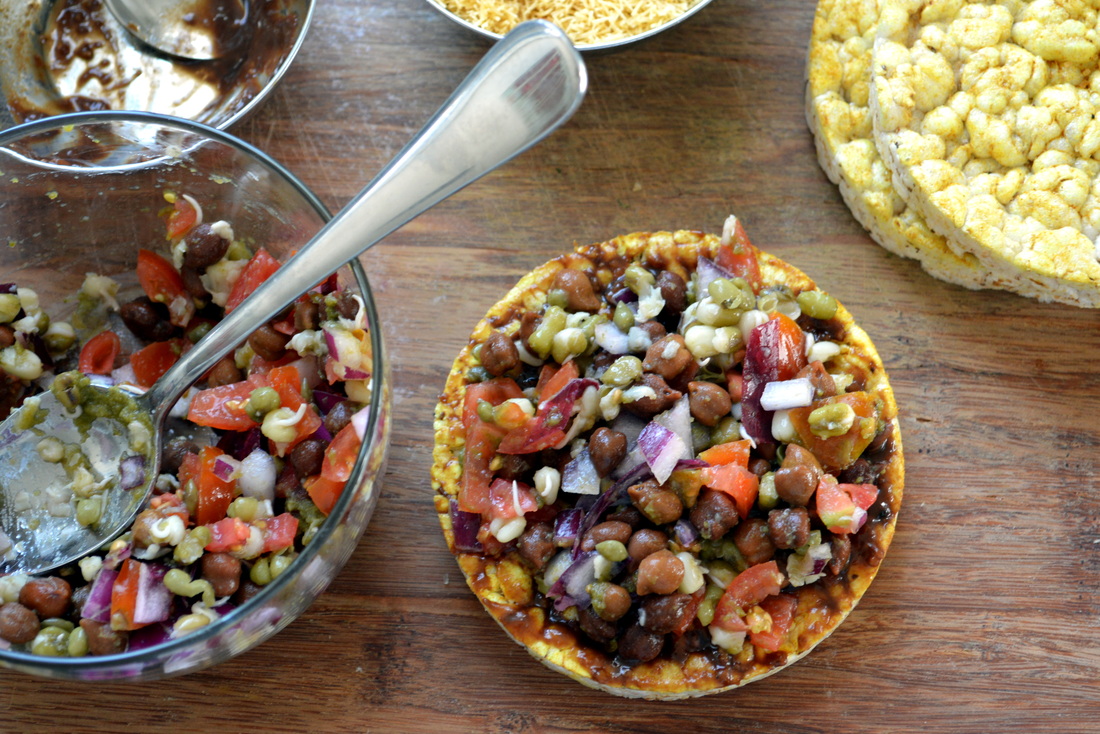
Now you should have all the components ready to make bhel cakes. First, combine the chickpeas, mung beans, tomatoes, and onions. You can put in any amount of each that you want; I combined 1 part chickpeas with 1 part mung beans, and 1/2 part tomato and 1/2 part onion.
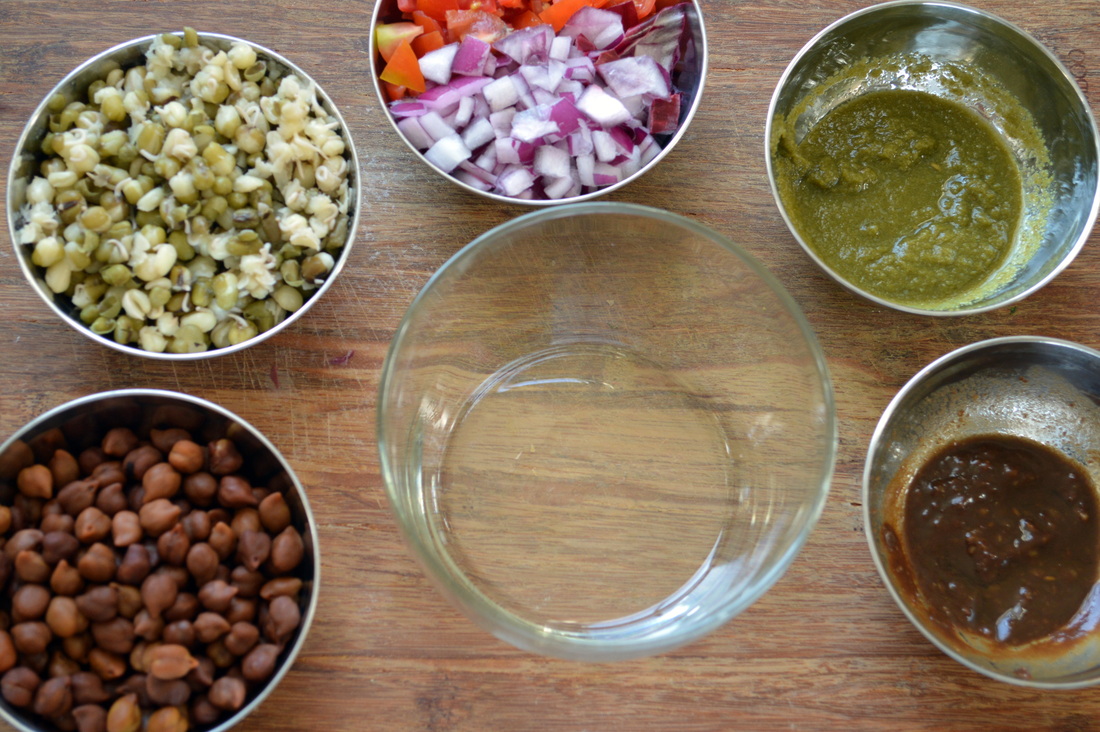
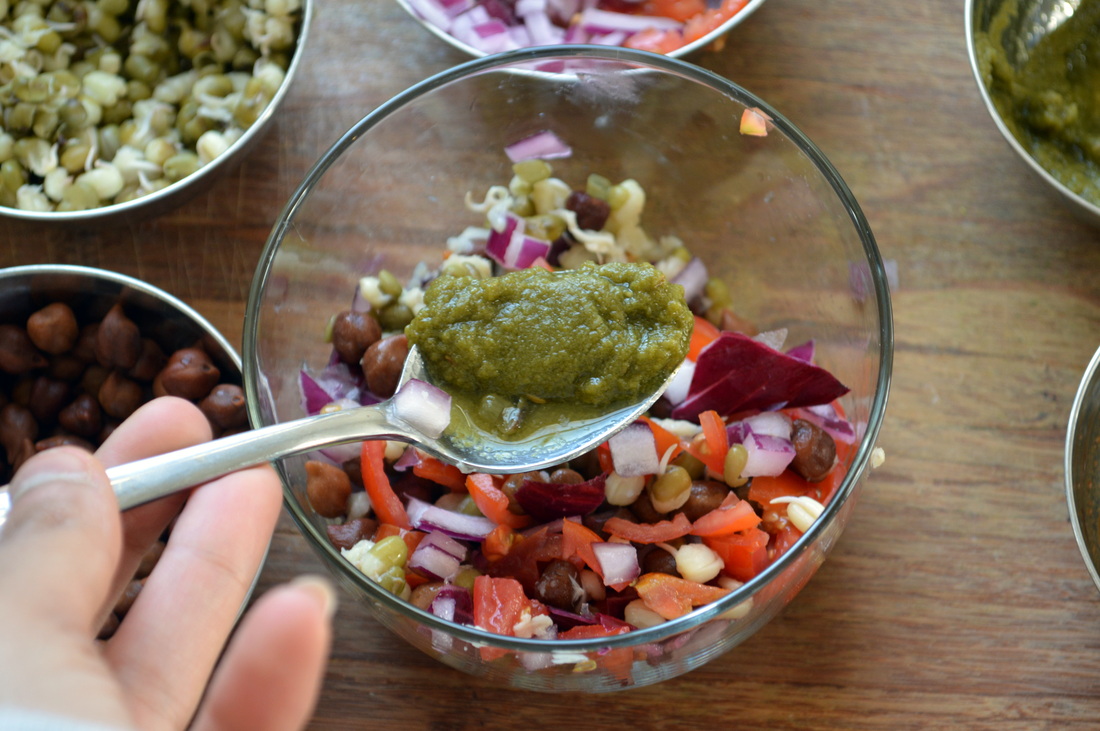
Add a dollop of spicy mango cilantro chutney. Again, add as much as you want to suit your tastes. Stir the mixture so that the chutney combines with all the other ingredients.
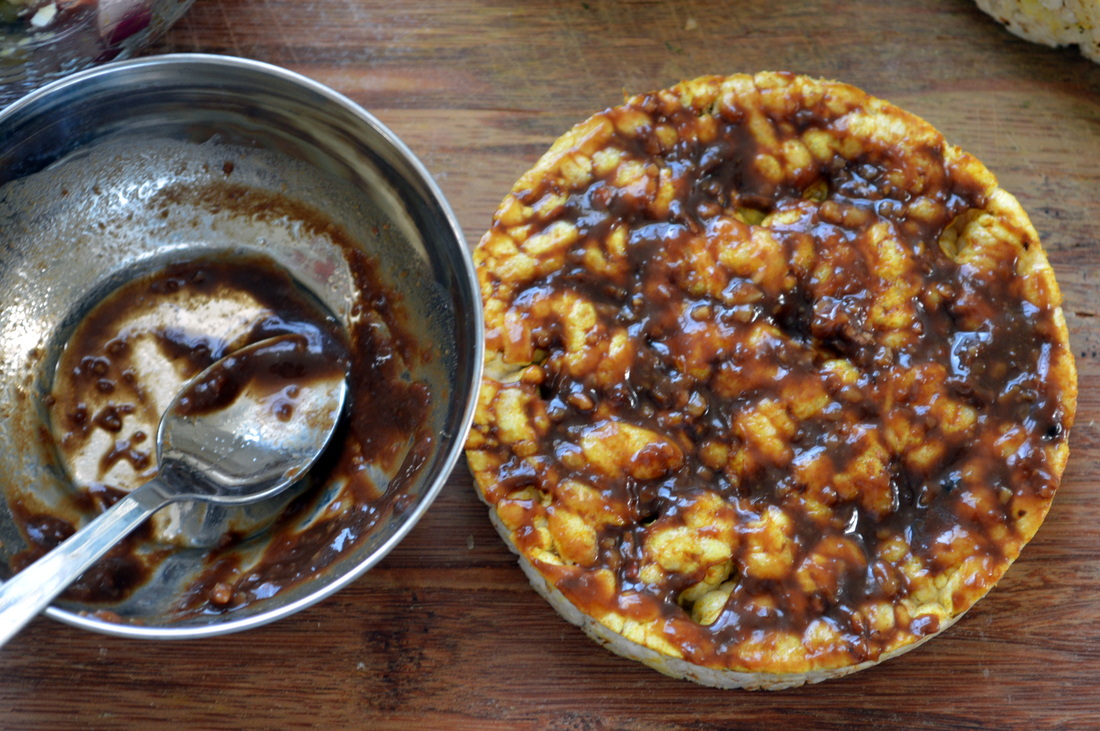
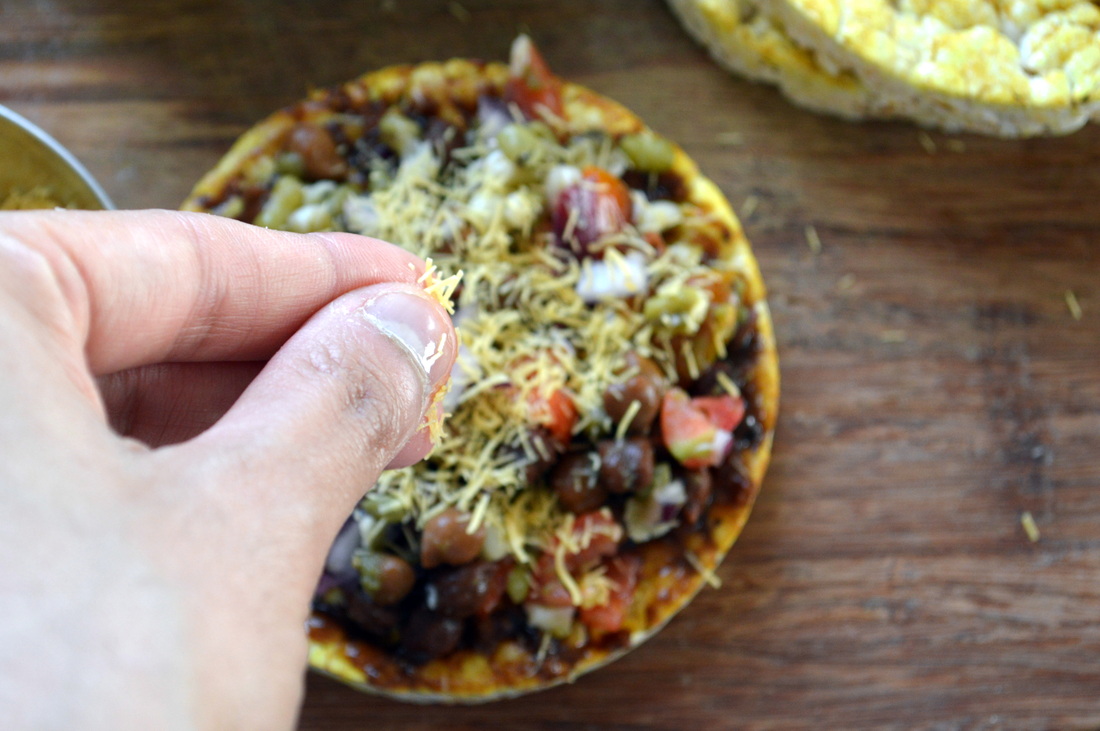
Now prepare the cakes by spreading sweet tamarind date chutney on each rice cake. Next, spoon the bhelpuri mixture onto the rice cake. Finally, you have the option to top it off with a sprinkle of nylon sev--it is not necessary and it is healthier to leave it off, but I like to add it because it really gives the "look" of bhelpuri.
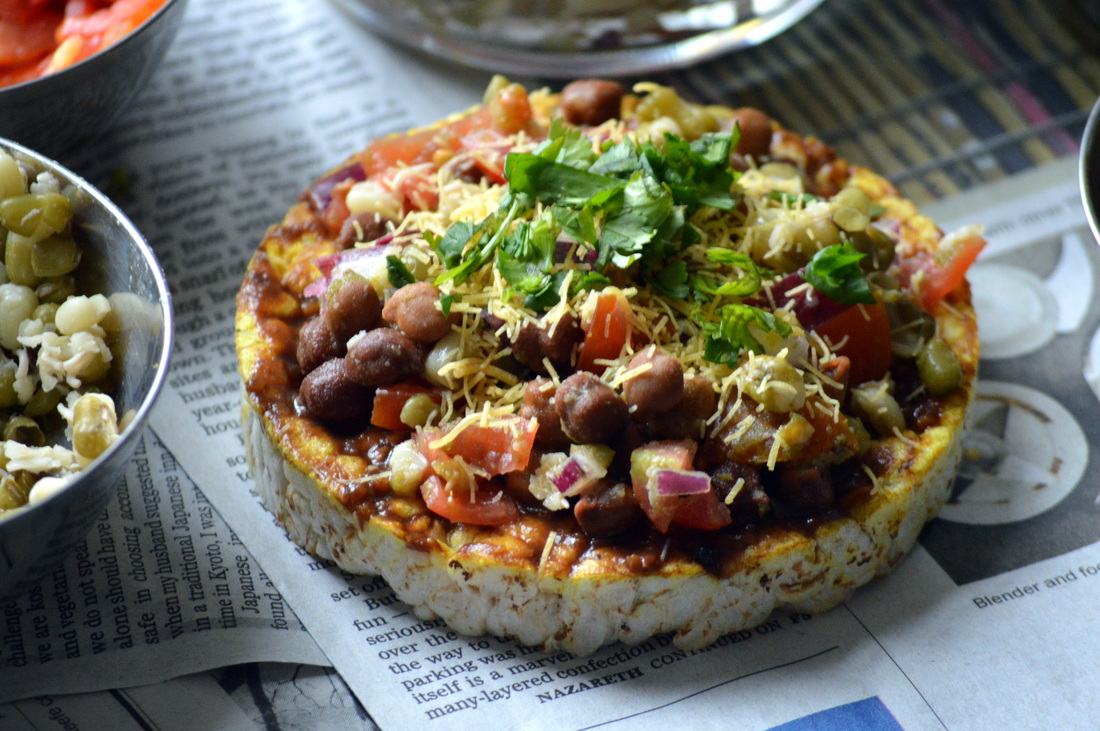
All done and ready to serve! I plan on making these as an appetizer to enjoy while we watch the Superbowl this weekend. For a healthy and different treat, consider adding it to your party menu too!
Ingredients (for 4 cakes):
| Ingredients (for 12 cakes):
|
Kitchen Tools:
- Baking sheet
- For sprouting mung beans only: large bowl, colander, kitchen towel
Steps for Sprouting Mung Beans (48-72 hour process):
- Soak mung beans in water overnight, or for 8 to 12 hours, using a ratio of 2 parts water to 1 part mung beans.
- Drain the water from the mung beans and wrap in a kitchen towel. Place the towel in a colander, and place the colander in a bowl. Set aside in a dark place (such as the oven) for 1 to 2 days.
- If the towel begins to feel dry, lightly moisten it.
- After 24 hours, sprouts will begin to appear. You may allow them to grow longer for another day, or use them at this point.
- Store in an airtight container for 1 to 2 days.
Steps for Making Bhel Cakes:
- Combine the sprouted mung beans with water and bring to a boil. Lower the heat slightly and let the beans boil for 20 to 25 minutes until they are soft and the green skins have begun to come off.
- Once the mung beans are done cooking, drain them from the water in the pot and let them cool.
- Meanwhile, preheat the oven to 350 degrees Fahrenheit. As it preheats, combine the oil, turmeric, and hing powder (optional). Spread this mixture on the top of each rice cake. Place the rice cakes on a baking sheet and sprinkle with salt.
- Once heated, place the rice cakes in the oven for 10 to 15 minutes until they have crisped slightly. Once they are done, remove them from the oven and let them cool.
- While the rice cakes are in the oven, chop the onion and tomatoes. If using canned chickpeas, drain and rinse them. Note my recent post on using slow-cooked dried chickpeas instead of canned ones!
- Combine the chickpeas (1 part), mung beans (1 part), tomatoes (1/2 part), and onions (1/2) part. Then add the hari chutney and stir to combine all the ingredients of the bhelpuri mixture.
- Spread imli chutney on top of each rice cake. Next, add the bhelpuri mixture to the rice cake. Finally--and optionally--top with nylon sev and chopped cilantro leaves.
 RSS Feed
